
I wanted a smarter way to control my home’s temperature. My old thermostat was basic. It did the job, but it wasn’t efficient. Some rooms were too warm, others too cold. I was always adjusting it. My energy bills weren’t great either.
I heard about the ecobee thermostat and decided to give it a try. It promised better comfort and lower costs. Plus, I could control it from my phone. That sounded perfect.
Installing it myself felt like a challenge, but I was ready. I grabbed my tools, read the instructions, and got started. Here’s how it went.
Table of Contents
Can My HVAC System Handle an ecobee?
I didn’t want to buy a thermostat that wouldn’t work with my system. Checking first saved me time and hassle. Here’s what I did to make sure everything was a match.
- I used ecobee’s compatibility checker. It asked for a few details about my current thermostat and wiring. In seconds, I had my answer.
- I took a look at my thermostat wires. ecobee works with most systems, but I checked for a C wire just in case.
- I double-checked my HVAC manual. It confirmed my heating and cooling setup would work just fine.
What I Needed Before Getting Started
I didn’t want to stop halfway because I was missing a tool. So, I gathered everything I’d need before unboxing my ecobee. Here’s what I made sure to have on hand.
Tools I Prepared
- Drill with a 3/16” bit – For mounting the backplate securely.
- Flathead and Phillips screwdrivers – Used for screws and wire connections.
- Hammer, pencil, and wire stripper (optional) – Helpful but not always needed.
What Was Inside the Box
- SmartThermostat unit – The star of the show.
- Backplate – This holds the thermostat in place.
- Trim plate – Covers any old marks on the wall.
- Power Extender Kit (PEK) – Needed if I didn’t have a C wire.
- Screws, drywall plugs, wire labels, and installation guide – Everything to make the setup easier.
How I Installed My ecobee Step by Step
I wanted to install my ecobee the right way without any issues. I took my time and followed each step carefully. Here’s exactly how I did it.
Powering Down for Safety
- I switched off the power at the breaker box. No shortcuts here—safety first.
- I double-checked that my HVAC system was off. I turned on the fan at my old thermostat to confirm nothing happened.
Removing the Old Thermostat
- I gently popped off the thermostat cover. Some models just pull off, while others have small screws.
- I labeled each wire before disconnecting them. The stickers from the ecobee kit made this easy.
- I removed the old backplate. A screwdriver was all I needed to unscrew it from the wall.
Installing the ecobee Backplate
- I threaded the wires through the new backplate. The center hole made it simple.
- I used the built-in level to get it straight. No crooked thermostat for me.
- I secured it to the wall with screws. A firm but gentle twist kept everything in place.
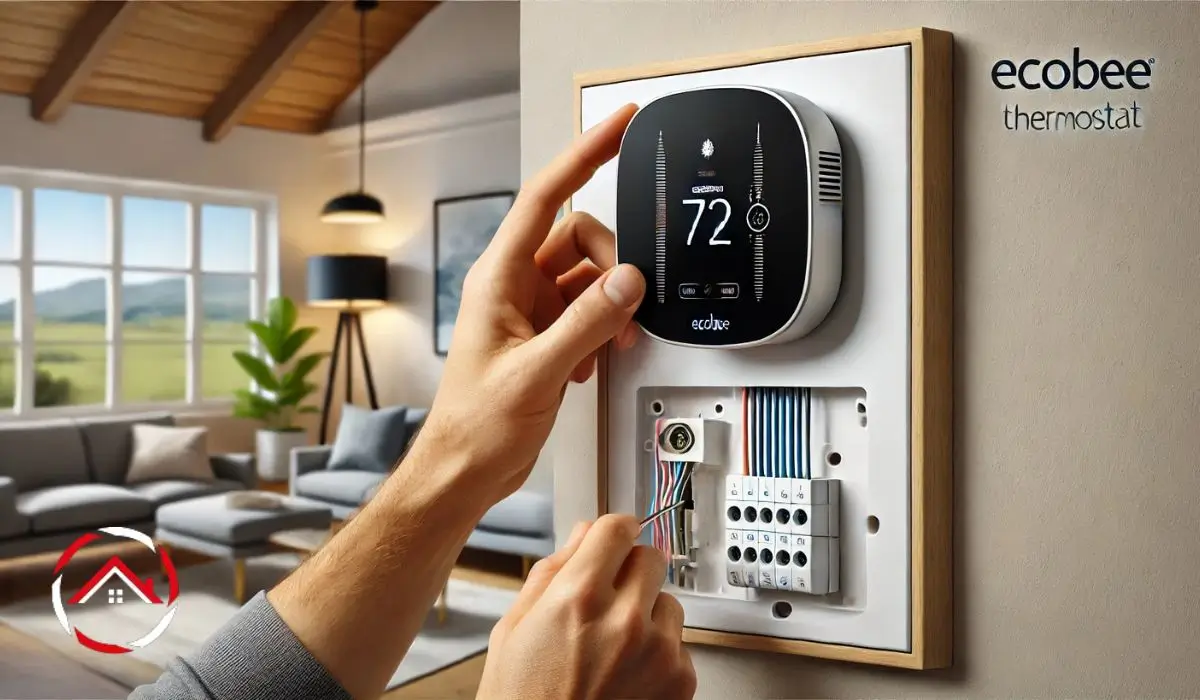
Connecting the Wires
- I inserted each wire into its matching terminal. The labels I added earlier made this foolproof.
- I tugged each wire slightly to check the connection. Loose wires could cause problems later.
Attaching the ecobee Thermostat
- I lined up the thermostat with the backplate. It needed to fit snugly.
- I pressed it in until I heard a click. That sound meant it was locked in place.
Restoring Power and Initial Setup
- I switched the power back on. The thermostat lit up right away.
- I followed the on-screen setup guide. It walked me through Wi-Fi connection and system settings.
- I customized my preferences. Temperature schedules and smart features were easy to adjust.
Fixing Common Installation Issues
I wanted my ecobee to work perfectly right away, but I ran into some minor issues. Luckily, I found simple fixes. Here’s what worked for me.
Thermostat Not Powering On
- I checked the wire connections. A loose wire can prevent power from reaching the thermostat.
- I made sure the HVAC cover panel was closed. Some systems won’t turn on unless the panel is properly shut.
- I verified the R wire placement. It needed to be in the Rc terminal for the ecobee to function.
No C Wire Present
- I used the Power Extender Kit (PEK). This came in the box and provided the missing C wire connection.
- I followed the PEK instructions carefully. Installing it at the control board ensured a continuous power supply.
How My ecobee Made Life Easier
Once my ecobee was up and running, I quickly noticed the difference. It wasn’t just about temperature—it was about convenience.
Lower Energy Use
- My heating and cooling felt smarter. The thermostat adjusted itself based on my habits.
- My energy bill started looking better. Less wasted heating and cooling saved money.
Remote Control Anytime
- I used the ecobee app on my phone. I could change settings from anywhere.
- I never worried about forgetting to adjust the thermostat. A quick tap on my screen fixed that.
Works with My Smart Home
- It connected easily with my other smart devices. No extra setup headaches.
- Voice control made things even easier. I just asked my smart speaker to adjust the temperature.
