I remember the first time my Nest thermostat battery died. I was frustrated because I couldn’t figure out how to get it working again.
After some trial and error, I quickly learned that replacing the battery is a simple task. Whether you have the first, second, or third generation Nest thermostat, it’s something anyone can handle in just a few minutes.
In this guide, I’ll walk you through how to change your Nest thermostat battery step by step, with clear instructions. Let’s get your thermostat back to work and make sure it keeps your home comfortable!
Table of Contents
How to Change Battery on Nest Thermostat 3rd Generation: My Simple Guide
When my 3rd Generation Nest’s battery ran low, I quickly learned how to fix it. Here’s what I did to get it working again.
- Turn off the power to your HVAC system: Switch off the circuit breaker to avoid any electrical issues.
- Remove the thermostat from its base: Gently pull the thermostat unit off the wall mount.
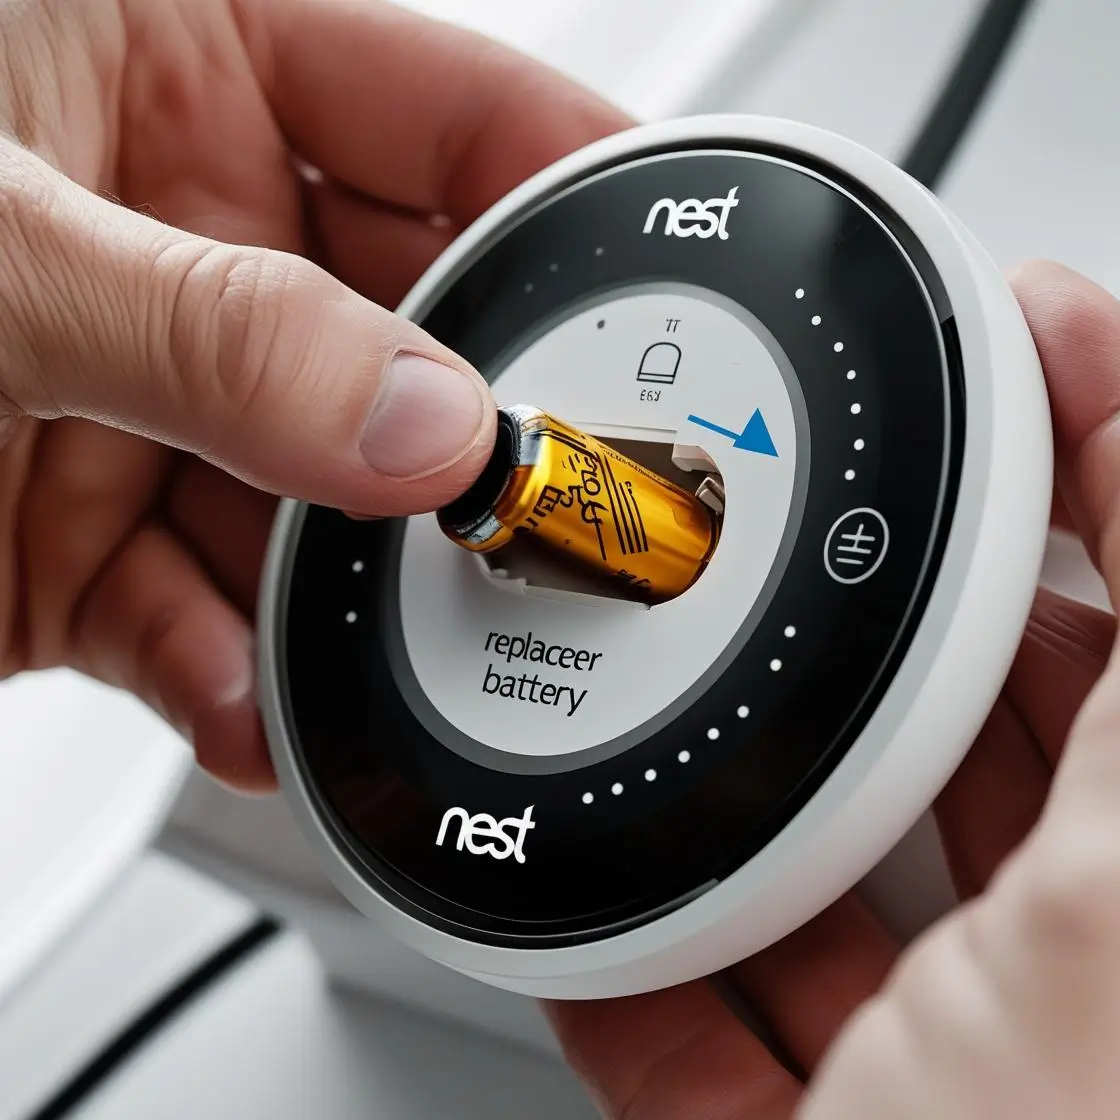
- Disconnect the old battery: Find the old battery and carefully unplug it.
- Insert the new battery: Make sure to plug in the new battery securely.
- Reattach the thermostat to the wall mount: Place it back on the base.
- Power on your HVAC system: Check that the thermostat powers up and is working.
How to Change Nest Battery 2nd Generation: My Quick Fix
I found replacing the battery on my 2nd generation Nest thermostat easier than expected. Here’s how you can do it too.
- Turn off your system: Flip the switch off for your HVAC system to avoid electrical hazards.
- Remove the thermostat: Twist or pull the Nest off the mounting base.
- Disconnect the battery: Take out the old battery carefully, noting the orientation.
- Insert the replacement: Place the new battery into its slot, ensuring it’s secure.
- Mount the thermostat back onto the wall: Secure it back in place.
- Power on the system: Make sure it powers up and functions correctly.
How to Change Nest Battery 1st Generation: A Simple Step-by-Step Guide
When my 1st generation Nest ran out of battery, I knew just what to do. Here’s my approach.
- Turn off the power: Shut down the HVAC system to stay safe.
- Remove the Nest from the wall: Pull the thermostat gently away from its base.
- Disconnect the battery: Carefully detach the old battery from its connector.
- Install the new battery: Place the new battery, ensuring a secure connection.
- Place the thermostat back onto the base: Reattach it carefully.
- Power up: Turn on the HVAC system and check for smooth operation.
Where to Buy Nest Thermostat Battery: Where I Found Mine
When my Nest’s battery needed replacing, I had a few options for where to buy it.
- Official Nest website: Buy directly from Google for compatibility.
- Amazon: Find genuine replacements with user reviews to help decide.
- Best Buy or Home Depot: Check local stores for availability.
- Third-party retailers: Choose reputable sellers to avoid low-quality parts.
Nest Thermostat E Battery Replacement: My Simple Solution
When I noticed my Nest Thermostat E wasn’t working, I quickly fixed it. Here’s how.
- Charge the thermostat: Use a USB cable to connect the Nest Thermostat E to a power source.
- Wait for charging: The display will light up, indicating it’s charging.
- Replace the battery if necessary: If it still won’t charge, consider replacing the internal battery.
Nest Thermostat Low Battery No Wi-Fi: What I Did to Fix It
I’ve had my Nest thermostat lose Wi-Fi when the battery was low. Here’s what worked.
- Charge or replace the battery: First, try charging or replacing the battery.
- Reconnect to Wi-Fi: Once it’s powered, reconnect the device through settings.
- Check wiring and settings: Ensure all connections are secure, and your Wi-Fi is stable.
How to Charge Nest Thermostat: What I Do When It’s Low
If my Nest thermostat’s battery gets low, here’s my quick fix.
- Use the USB cable: Plug it into the micro-USB port on the thermostat.
- Connect to a power source: Use a USB charger or a computer.
- Wait for the charging symbol: The thermostat will show a battery icon while charging.
Nest Thermostat Battery Low: Signs and Solutions I’ve Found
When my thermostat shows a low battery warning, here’s what I do next.
- Check the battery status: Go into settings to check the remaining battery life.
- Charge or replace: Depending on the model, charge or replace the battery.
- Monitor performance: After charging or replacing, check that it’s working and connected.