
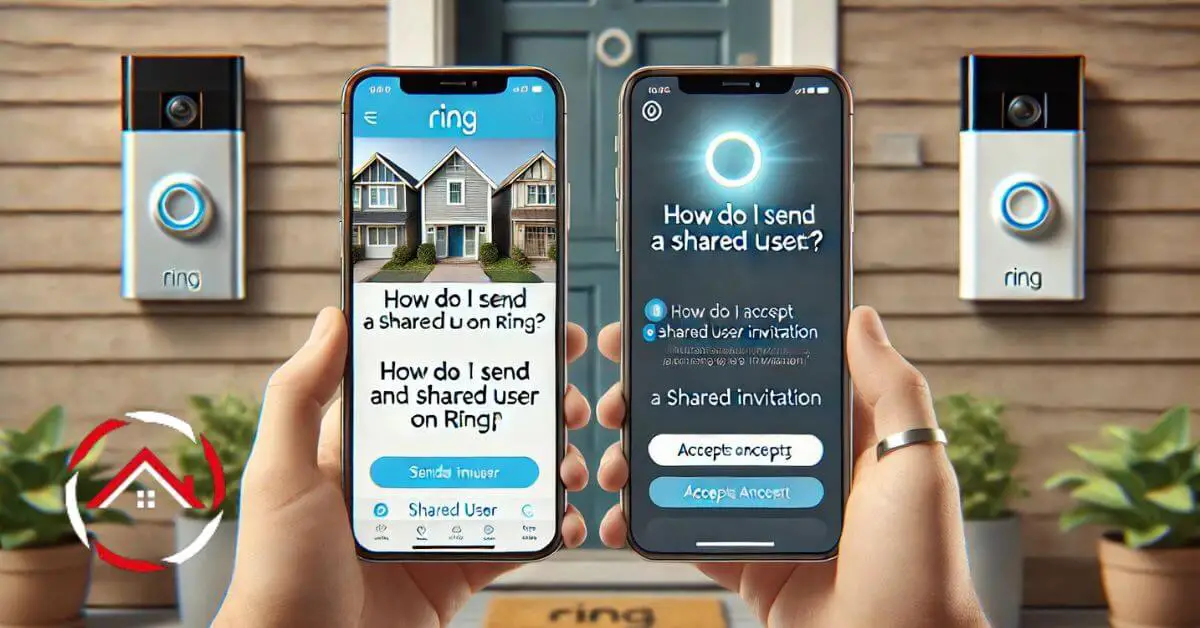
Sharing access to your Ring devices can be a game-changer. Whether you want to keep your family in the loop or grant access to a trusted friend, knowing how to send and accept a shared user is crucial.
With years of experience in technology solutions, I’ve seen firsthand how simple steps can enhance home security and peace of mind.
In this guide, I’ll walk you through the process of the query “How do I send and accept a shared user on Ring?”, ensuring you can confidently manage shared access.
It’s straightforward, efficient, and designed with your safety in mind. Let’s get started on making your Ring experience even better!
Read more: Home Security Systems
Table of Contents
How to Accept a Shared User Invite on Ring?
Accepting a shared user invite on Ring is a quick and straightforward process. Here’s how you can do it:
- Check Your Email: Once someone shares their Ring device with you, you’ll receive an email invitation. Open the email and click on the invitation link.
- Sign In or Create an Account: The link will direct you to the Ring app or website. If you already have a Ring account, sign in. If not, you’ll need to create one.
- Accept the Invitation: After signing in, you’ll see the shared device invitation. Click “Accept” to gain access to the device.
- Start Monitoring: Once accepted, you can view and interact with the shared Ring device from your app, just like the primary user.
That’s it! You’re now connected and can start monitoring the shared device right away.
How Do I Add a Shared User on the Ring App?
Adding a shared user on the Ring app is easy and allows others to access your Ring device. Follow these steps to share access:
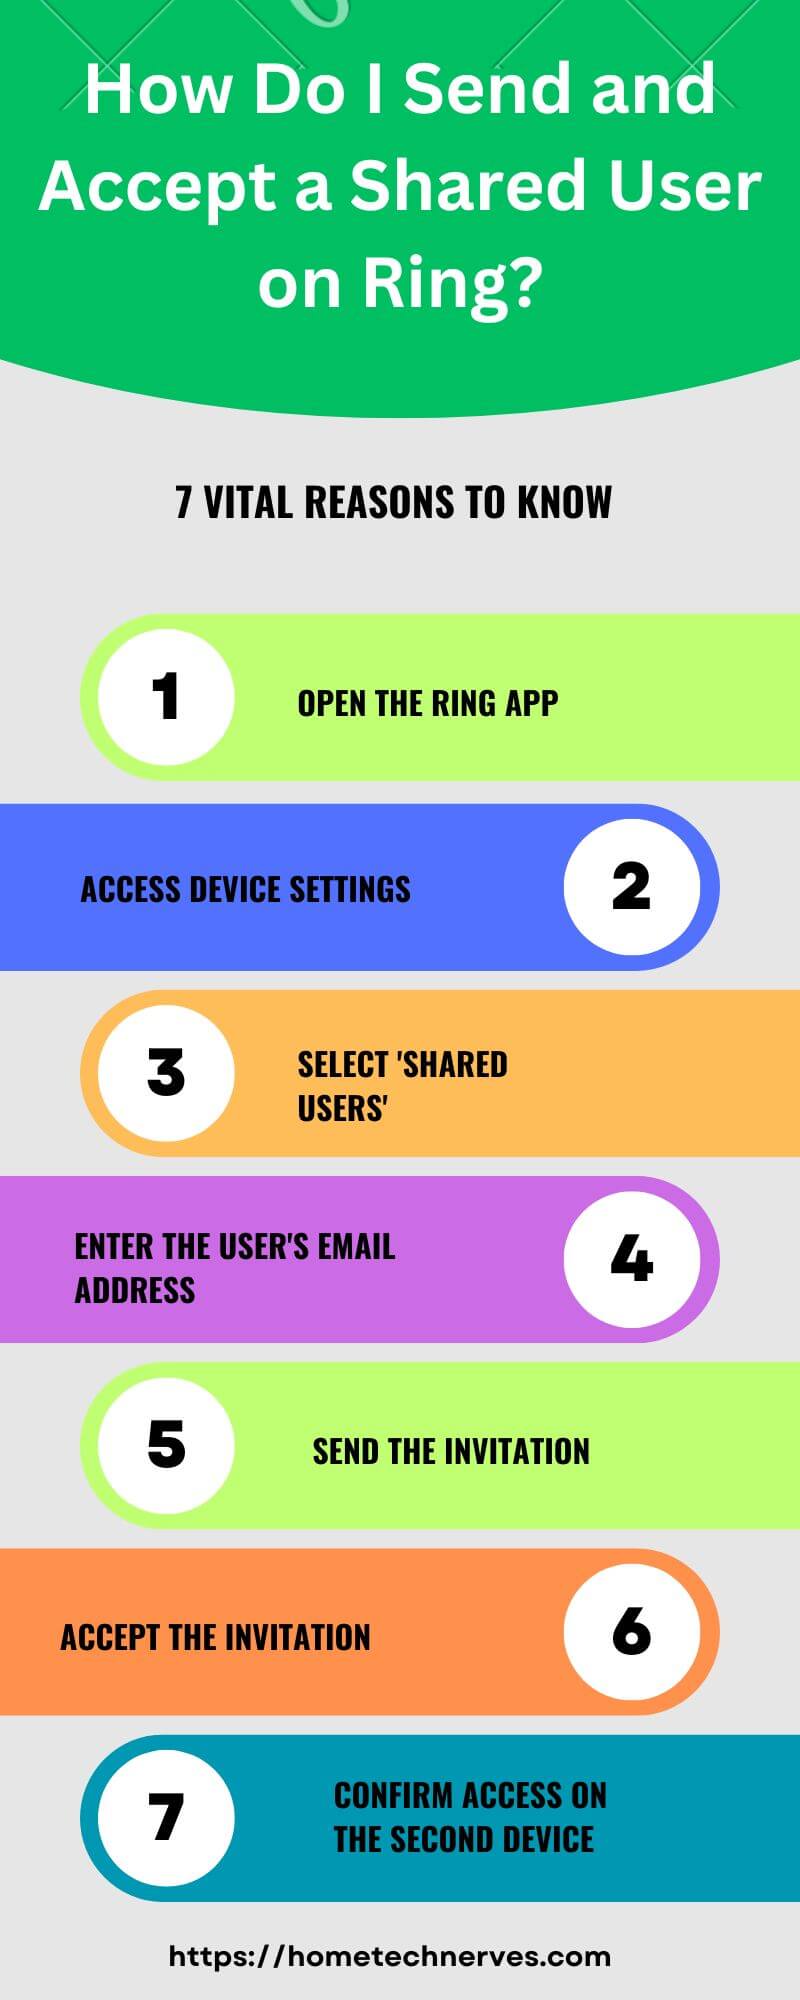
- Open the Ring App: Start by opening the Ring app on your smartphone.
- Select Your Device: Tap on the device you want to share. This could be your Ring doorbell, camera, or another Ring product.
- Access the Settings: In the device dashboard, tap on the “Settings” icon (usually a gear icon) in the upper right corner.
- Manage Shared Users: Scroll down and select “Shared Users.”
- Add a User: Tap “Add User” and enter the email address of the person you want to share access with. Make sure this is the email they use for their Ring account.
- Send the Invitation: After entering the email, tap “Send Invite.” The person will receive an email invitation to join your Ring device.
Once the invite is accepted, they will have access to the device through their Ring app.
How to Fix Ring Shared User Invite Not Working?
If you’re having trouble with a shared user invite on your Ring device, it can be frustrating. But don’t worry—there are several steps you can take to troubleshoot and resolve the issue. Here’s a guide to help you fix the problem.
1. Check the Email Address
Ensure the email address used for the invite is correct and matches the one associated with the recipient’s Ring account. Even a small typo can prevent the invite from working.
2. Resend the Invitation
Sometimes, the initial invite might not go through properly. Try resending the invitation from the Ring app to see if it resolves the issue.
3. Ask the User to Check Their Spam Folder
The invite email may have ended up in the recipient’s spam or junk folder. Ask them to check there if they haven’t received it in their inbox.
4. Ensure the App is Updated
Both you and the invitee should ensure that the Ring app is updated to the latest version. Older versions of the app might not support new features properly.
5. Verify the Internet Connection
A weak or unstable internet connection can interfere with the invite process. Make sure both you and the invitee have a strong and stable connection.
6. Clear the Ring App Cache
Clearing the app’s cache can resolve glitches that may be causing the issue. In your phone’s settings, find the Ring app and clear its cache, then try sending the invite again.
7. Contact Ring Support
If none of the above steps work, it’s time to reach out to Ring Support. They can provide further assistance and help troubleshoot any underlying issues.
Wrap Up
Sharing access to your Ring devices is a smart way to keep your loved ones connected and secure.
With these simple steps, you can easily send and accept shared user invites, ensuring everyone stays in the loop.
From my experience, taking control of your home security should be stress-free and straightforward.
Now that you know how to manage shared access, you can confidently share your Ring device with family or friends.
Remember, a secure home is a happy home. If you ever need help, don’t hesitate to revisit these steps or reach out for support. Happy sharing!
Frequently Asked Questions
How do I send a shared user invitation on Ring?
To send a shared user invitation, open the Ring app, select the device, go to “Shared Users,” and enter the email address of the person you want to invite. They’ll receive an email to accept the invitation and gain access.
How does a shared user accept an invitation on Ring?
The invited person will receive an email with instructions. They must download the Ring app, create an account (if they don’t have one), and accept the shared user invitation to access the device from their Ring app.
Can a shared user control my Ring devices?
Yes, shared users can control specific Ring devices you’ve granted them access to. They can view video footage, receive notifications, and use two-way talk. However, they can’t change settings, remove devices, or add additional users unless given admin privileges.
Can I remove a shared user on Ring?
Yes, you can remove a shared user anytime. Go to the Ring app, select the device, navigate to “Shared Users,” and choose the person to remove. Once removed, they will no longer have access to that device through their Ring app.

My brother recommended I might like this blog. He was totally right.
This post actually made my day. You cann’t imagine just how much time I had spent for
this information! Thanks!
Glad it helped!