I use screen recording all the time. It helps me save important moments on my iPhone. Whether I’m showing a friend how to use an app or keeping a record of something, it’s quick and simple. The best part? It’s built into my iPhone, so I don’t need any extra apps.
I used to take screenshots, but they didn’t always capture everything. A video makes it easier to explain things. If you’ve never tried it before, don’t worry. I’ll walk you through everything, step by step. By the end, you’ll know exactly how to record your screen like a pro.
Table of Contents
Setting Up Screen Recording on My iPhone
I like to keep things simple, and setting up screen recording is just that. It only takes a few taps, and once it’s done, it’s always ready when I need it.
Here’s how I set it up:
- Open Settings on my iPhone.
- Tap Control Center to access quick settings.
- Scroll down to More Controls to find extra features.
- Look for Screen Recording in the list.
- Tap the + icon to add it to my Control Center.
Now, screen recording is just a swipe away whenever I need it.
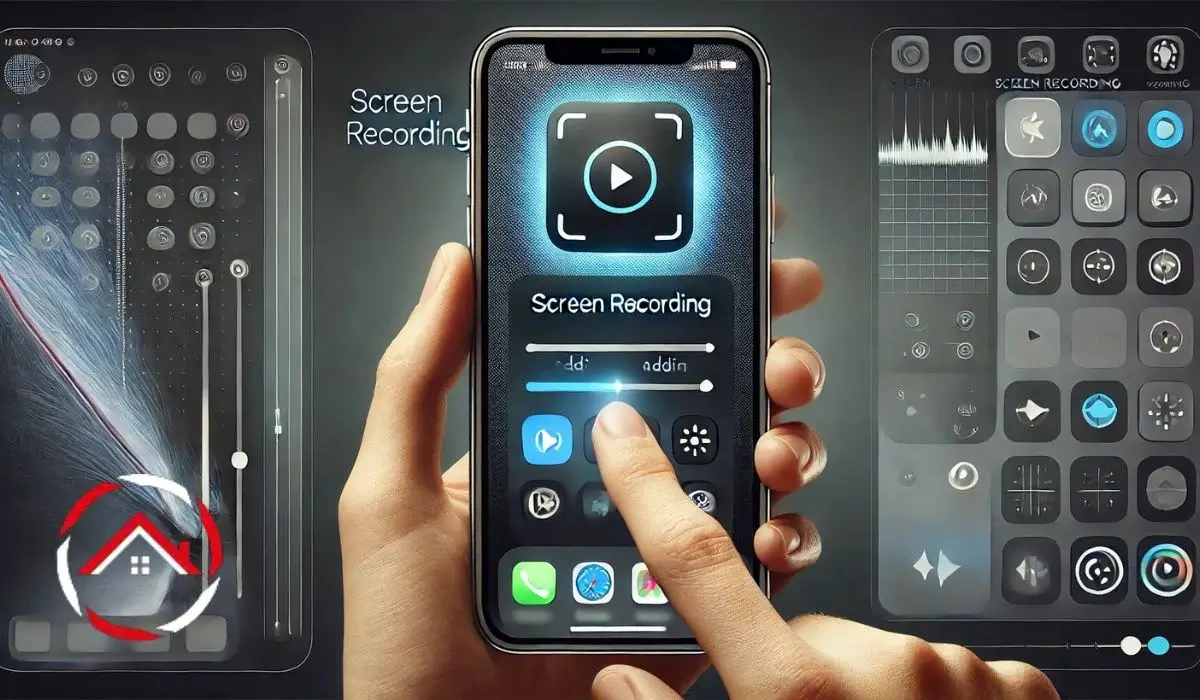
How I Record My iPhone Screen
Recording my screen takes only a few seconds. Whether I’m showing a friend how to do something or saving a video, it’s super easy.
Here’s what I do:
- Open Control Center:
- On iPhones with Face ID (iPhone 13, 14, 15, 16): I swipe down from the top-right corner.
- On iPhones with a Home Button (iPhone 11): I swipe up from the bottom.
- Tap the Screen Recording icon to start recording.
- A 3-second countdown appears before recording begins.
- To stop, I either:
- Tap the red status bar at the top and select Stop.
- Or, go back to Control Center and tap the Screen Recording icon again.
That’s it! My screen recording is saved instantly in the Photos app, ready to share.
Capturing Screen Recording with Sound
Sometimes, I need to record more than just my screen. Whether it’s a tutorial or a reaction video, adding sound makes a big difference. Luckily, my iPhone lets me do this in a few simple steps.
Here’s how I turn on sound while recording:
- Open Control Center.
- Press and hold the Screen Recording icon.
- Tap the Microphone icon to enable audio.
- Tap Start Recording to begin.
- To stop, I either:
- Tap the red status bar and select Stop.
- Or, go back to Control Center and tap the Screen Recording icon again.
Now, my screen recordings include my voice or any sound playing on my iPhone.
Tips for Screen Recording on iOS 18 and Newer Updates
With every update, iPhones get better. I always check for changes to make sure my screen recording works smoothly.
Here’s what I do after an update:
- Make sure my iPhone is updated to the latest iOS version.
- Check Control Center for any new screen recording features.
- If something isn’t working, I visit Apple’s support page for guidance.
A quick check saves me from surprises when I need to record my screen.
Adding Screen Recording to My iPad
I use my iPad for a lot of things, and screen recording makes it even better. Whether I’m saving a video or explaining something, setting it up takes just a minute.
Here’s how I add it to my Control Center:
- Open Settings.
- Tap Control Center to manage shortcuts.
- Scroll down to More Controls.
- Find Screen Recording in the list.
- Tap the + icon to add it.
Now, I can start recording anytime:
- I swipe down from the top-right corner to open Control Center.
- Tap the Screen Recording icon to begin.
- To stop, I either:
- Tap the red status bar and select Stop.
- Or, go back to Control Center and tap the Screen Recording icon again.
That’s it! My iPad now records my screen just like my iPhone.