I love how my AirPods make listening to music or taking calls so easy. But when I first got them, I wasn’t sure how to connect them to my MacBook Air. Turns out, it’s super simple! Whether you’re using AirPods, AirPods Pro, or even the newer AirPods 4, the process is quick and hassle-free.
In this guide, I’ll walk you through the steps I used to pair my AirPods with my MacBook Air. Plus, I’ll share some tips I learned along the way to fix common issues. Let’s get started!
Read more: AirPods Setup And Connectivity – A Guide
Table of Contents
My Quick Guide to Connecting AirPods to My MacBook Air
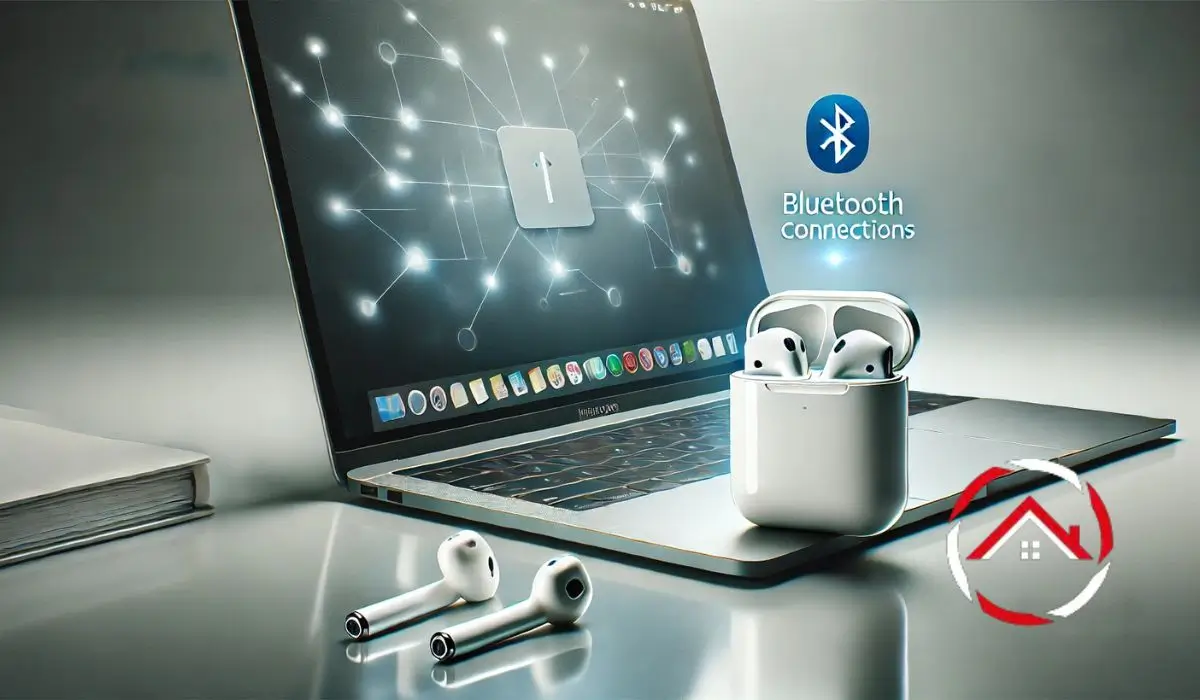
Connecting AirPods to my MacBook Air felt like magic. It’s fast, simple, and works every time.
Here’s how I did it:
- I opened the lid of my AirPods case, keeping the AirPods inside.
- On my MacBook Air, I clicked the Apple menu, then went to System Settings > Bluetooth.
- I pressed and held the setup button on the AirPods case until the status light flashed white.
- I selected my AirPods from the list of available devices.
- Finally, I clicked “Connect.”
If your AirPods don’t show up, try these fixes:
- Make sure Bluetooth is turned on.
- Restart your MacBook Air.
- Reset your AirPods by holding the setup button for 15 seconds.
How I Connected My AirPods 4 to My MacBook
Pairing my AirPods 4 with my MacBook was a breeze. The process is quick and works like a charm.
Here’s how I made it happen:
- First, I checked that my MacBook was running the latest macOS version.
- I opened the AirPods case near my MacBook and waited for the pop-up prompt.
- I followed the on-screen instructions to complete the pairing.
If the automatic pairing doesn’t work, try this:
- Manually connect via Bluetooth settings.
- Restart both your MacBook and AirPods.
- Make sure your AirPods are charged and in pairing mode.
Read more: Apple AirPods Guide
My Experience Pairing AirPods Max to My MacBook
AirPods Max are perfect for my MacBook. They deliver amazing sound and fit seamlessly into my workflow.
Here’s how I connected them:
- I pressed and held the noise control button on my AirPods Max until the status light flashed white.
- On my MacBook, I opened Bluetooth settings.
- I selected “AirPods Max” from the list and clicked “Connect.”
To keep the connection stable, I follow these tips:
- Keep both devices close during pairing.
- Update my MacBook and AirPods Max regularly.
- Avoid interference from other Bluetooth devices nearby.
How I Connected My AirPods to Other Devices (Chromebook, Laptop, iPhone)
AirPods aren’t just for Apple devices. I’ve paired them with my Chromebook, Windows laptop, and iPhone too.
Here’s how I did it:
Chromebook:
- I opened Bluetooth settings on my Chromebook.
- I put my AirPods in pairing mode by holding the setup button.
- I selected my AirPods from the list of available devices.
Windows Laptop:
- I turned on Bluetooth in my laptop’s settings.
- I put my AirPods in pairing mode.
- I chose my AirPods from the list and connected.
iPhone:
- I opened the AirPods case near my iPhone.
- I followed the on-screen prompts to pair them instantly.
The process varies slightly because each device handles Bluetooth differently. But it’s always straightforward!
Troubleshooting My AirPods Connection Issues
Sometimes, my AirPods don’t connect as smoothly as I’d like. Here’s how I fixed common problems.
Common issues and fixes:
- AirPods not showing up in Bluetooth settings:
- I made sure Bluetooth was turned on.
- I restarted both my AirPods and MacBook.
- Connection drops frequently:
- I moved closer to my MacBook to avoid interference.
- I checked for software updates on both devices.
- AirPods connected but no sound:
- I adjusted the volume on my MacBook.
- I selected AirPods as the output device in sound settings.
For stubborn issues, I reset my AirPods by holding the setup button for 15 seconds.