
Transferring photos from iPhone to your computer doesn’t have to be a complicated process. Learn the best methods, from USB cables to cloud options, with easy-to-follow steps.
Key Takeaways:
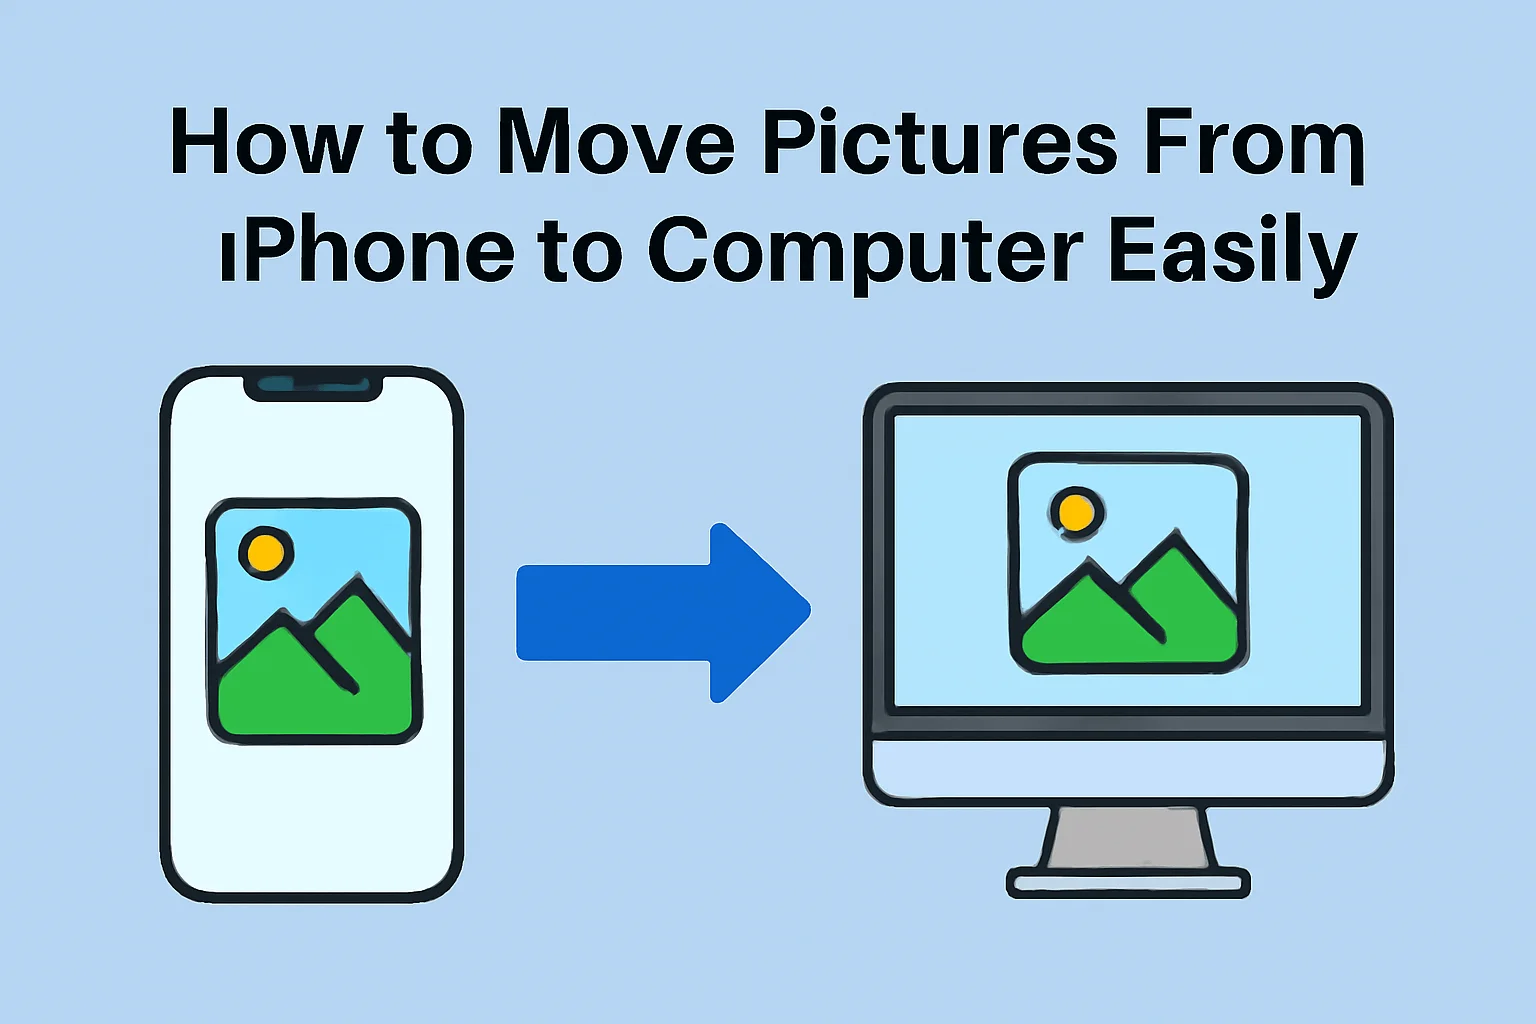
How to move pictures from iPhone to computer involves:
- USB Cable Transfer: Connect your iPhone to a PC or Mac for a reliable and quick photo transfer.
- Cloud Services: Use iCloud or Google Photos to sync and transfer photos wirelessly.
- AirDrop for Mac: A seamless way to transfer images between your iPhone and Mac.
- Third-Party Software: Use apps like iMazing for advanced photo management and transfer.
Introduction:
Transferring photos from iPhone to computer can seem like a hassle, especially when you’re juggling multiple devices and operating systems.
But the truth is, it doesn’t have to be hard at all. Whether you prefer a direct wired connection, wireless syncing, or cloud-based solutions, there’s a method that works for you.
This guide covers all your options, with straightforward instructions and expert tips to make the process seamless.
Read more: iPhone Guide: Master Your Device with Easy Tips and Tricks
Table of Contents
A Story of How I Helped Someone Transfer Photos
A client came to me after they found themselves with hundreds of photos on their iPhone, but no clear way to get them onto their computer. They had tried emailing themselves photos, but the process felt like a never-ending chore.
I walked them through the simple steps of connecting their iPhone to a PC via USB and using iCloud to sync their images automatically. Within an hour, their photos were safely stored on their computer.
Read More: iPhone Storage & Media: Managing Your Digital Life Efficiently
Transfer Photos from iPhone to PC Using a USB Cable
Connecting your iPhone directly to your PC is one of the easiest and fastest ways to transfer photos.
How to Use File Explorer for Quick Transfers
If you’re using Windows, the File Explorer method is a simple approach to get your photos off your iPhone.
- Step 1: Plug in your iPhone to your PC using a USB cable.
- Step 2: Unlock your iPhone and tap Trust This Computer if prompted.
- Step 3: Open File Explorer on your PC and locate your iPhone under “This PC.”
- Step 4: Navigate to Internal Storage > DCIM to access your photos.
- Step 5: Drag and drop photos to a folder on your PC.
This method is ideal if you want direct control over where your images go.
Pro Tip: Always safely eject your iPhone before disconnecting to avoid data corruption.
Using the Windows Photos App for Seamless Transfers
If you prefer a more integrated approach, the Windows Photos App offers an easy way to import your photos.
- Step 1: Connect your iPhone using a USB cable and unlock it.
- Step 2: Open the Photos app on your PC.
- Step 3: Click on the Import button and select the photos to transfer.
This method is great for users who want to quickly organize their images directly within the Photos app.
Transfer Photos from iPhone to Mac: A Quick Guide
Transferring photos from iPhone to Mac is an even easier process, especially if you have macOS and an iPhone within the Apple ecosystem.
Using the Photos App on Your Mac
The Photos app on Mac makes it a breeze to transfer your photos.
- Step 1: Plug your iPhone into the Mac via USB.
- Step 2: Open the Photos app.
- Step 3: Select your iPhone under “Devices” in the sidebar.
- Step 4: Click Import All to move everything, or choose specific photos.
This method is quick and reliable for users who want to keep their photos in the Photos library.
How to Use AirDrop for Quick Wireless Transfers
For those who prefer a wireless approach, AirDrop is the perfect solution for transferring photos between your iPhone and Mac.
- Step 1: Make sure AirDrop is enabled on both devices.
- Step 2: Open the photo(s) you want to send on your iPhone.
- Step 3: Tap Share, then select AirDrop and choose your Mac.
- Step 4: Accept the transfer on your Mac.
AirDrop works best when both devices are close to each other and connected to the same Wi-Fi network.
How to Transfer Photos from iPhone to PC Wirelessly
If you’re on a Windows PC and prefer not to use a USB cable, wirelessly transferring your photos via iCloud or Google Photos is a solid option.
Sync Photos Using iCloud for Windows
With iCloud for Windows, you can automatically sync your photos between your iPhone and PC. Here’s how:
- Step 1: On your iPhone, go to Settings > [Your Name] > iCloud > Photos, and turn on iCloud Photos.
- Step 2: Download iCloud for Windows from the Microsoft Store.
- Step 3: Sign in to iCloud and enable the Photos option to sync your images.
- Step 4: Once synced, you can access your photos directly through the iCloud folder on your PC.
This method ensures that your photos are always updated and ready to download to your PC.
Using Google Photos to Transfer Photos
Google Photos offers an excellent cloud-based alternative if you don’t want to use Apple’s iCloud service.
- Step 1: Install Google Photos on your iPhone and upload your images to the cloud.
- Step 2: On your PC, open a browser and go to Google Photos.
- Step 3: Download your selected photos to your computer.
Google Photos provides 15 GB of free cloud storage, and it’s an excellent choice for people who already use Google’s services.
Advanced Photo Management with Third-Party Apps
For those who want more control over their photo transfer process, third-party apps like iMazing and AnyTrans provide additional features.
Using iMazing for Advanced Transfers
iMazing is a powerful tool that allows users to manage and transfer photos with ease.
- Step 1: Download and install iMazing.
- Step 2: Connect your iPhone to your PC or Mac.
- Step 3: Use the Import function to move photos to your computer.
- Step 4: Manage your albums, organize your images, and back up your photos.
This method is perfect for users who need advanced features like batch transfers and photo organization.
Other Software Options for Efficient Transfers
Several other software options are also worth considering:
- AnyTrans: A great alternative to iMazing for iPhone management and data transfer.
- DearMob iPhone Manager: Another tool with robust photo and media transfer features.
These apps give users more flexibility than standard methods and are ideal for power users.
Transfer Methods Comparison Table
| Method | Device Required | Transfer Type | Best For |
|---|---|---|---|
| USB Cable | iPhone, PC or Mac | Wired | Quick, direct transfers |
| iCloud Sync | iPhone, PC or Mac | Wireless | Seamless sync between devices |
| AirDrop (Mac) | iPhone, Mac | Wireless | Fast, no cables required |
| Google Photos | iPhone, PC or Mac | Wireless | Cloud-based photo backup |
| iMazing Software | iPhone, PC or Mac | Wired/Wireless | Advanced management features |
Pro Tip: Safely Eject Your iPhone After Transfer
After transferring your photos from iPhone to your computer, always safely eject your device before unplugging it. This prevents data corruption and ensures all your files are properly saved.
Whether you’re using a USB cable, iCloud, or AirDrop, always take a moment to safely disconnect your iPhone from your PC or Mac.
Expert Quote:
The easiest way to transfer your photos without worrying about quality loss or data corruption is to use the iCloud Photos app. It keeps everything organized and synced seamlessly.
— Emily Johnson, Tech Specialist at Apple Support
Conclusion: Easy Ways to Move Photos to Your Computer
Transferring photos from your iPhone to your computer doesn’t need to be a hassle.
Whether you prefer using a USB cable, wireless syncing with iCloud, or even third-party apps for advanced options, there are multiple ways to make the process seamless.
The key is finding the method that suits your needs and devices best.
Want more tips on transferring photos? Explore your options today and back up your memories effortlessly!
Frequently Asked Questions
How can I transfer photos from my iPhone to a Windows PC without iTunes?
You can use the File Explorer method or the Windows Photos app to transfer photos directly from your iPhone to your PC without iTunes.
What’s the best way to transfer photos from iPhone to a Mac?
The easiest method is to use the Photos app on Mac, or you can transfer wirelessly via AirDrop if both devices are nearby.
Can I transfer large photo batches from my iPhone to my computer?
Yes, using iCloud Photos or a third-party app like iMazing allows you to transfer large batches efficiently.
Citations:
Apple Support. Transfer photos and videos from your iPhone or iPad to your Mac or PC
