I’ve always been someone who likes to change things up, especially when it comes to my Apple Watch bands. Whether it’s for cleaning, a new look, or just to make it more comfortable, knowing how to remove the band is key.
At first, I was nervous about damaging it, but once I figured it out, it became super easy. In this guide, I’ll walk you through how to remove your Apple Watch band safely, step by step, no matter which series you have.
You’ll see, it’s simpler than it seems, and you’ll feel more confident doing it yourself.
Read more: My Guide to Apple Watch Accessories and Customization
Disclosure: This post contains affiliate links. If you purchase through these links, I may earn a small commission at no extra cost to you.
Read More: Apple Watches
Table of Contents
Why I Need to Remove My Apple Watch Band
There are a few reasons why I might need to remove my Apple Watch band. Whether it’s for cleaning, swapping it out for a new one, or adjusting the size, the process is easy once you know how. Knowing the right way to remove the band is important, so I don’t damage the watch. Trust me, it’s simpler than it looks!
1. Cleaning My Apple Watch Band
Removing the band helps me give it a good clean. Whether it’s a leather or silicone band, dirt and sweat can build up over time. Giving it a clean boost keeps it looking fresh and feeling comfortable.
2. Swapping Bands for a New Look
Sometimes, I just want to change up the style. Swapping bands is an easy way to match my outfit or mood. It’s a quick way to refresh my look without having to get a new watch.
3. Adjusting the Band Size
If I’ve gained or lost a little weight, my Apple Watch band might feel tight or loose. Adjusting it is simple, and I can do it anytime I need to.
Click Here to Buy Apple Watches on Amazon
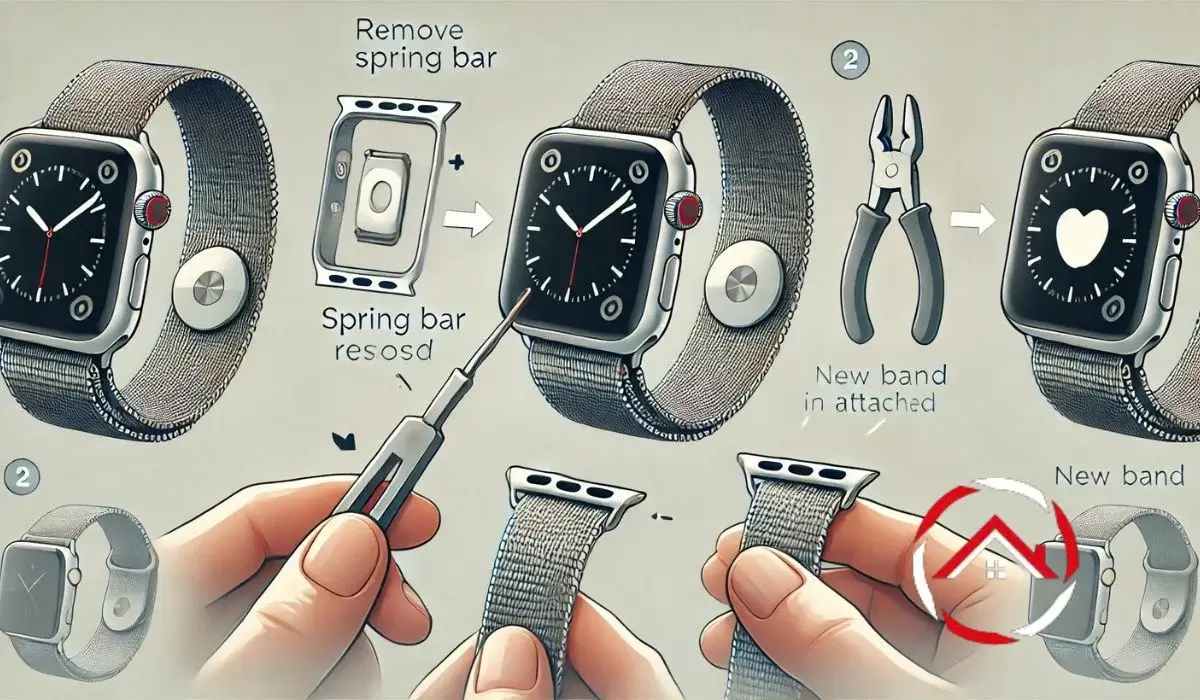
Step-by-Step Guide to Remove Your Apple Watch Band
It’s easy to remove your Apple Watch band once you know the steps. Whether you have the Series 9, 8, 7, or 3, these steps will work for you. Let me show you how to do it right.
1. Check the Band Release Button
Before doing anything, make sure you locate the band release button. This is the small button on the back of the Apple Watch. It’s usually on the top or bottom, depending on your model. You’ll need to press it to release the band.
2. Press and Hold the Band Release Button
- Position your watch on a flat surface, like a table or desk.
- Press and hold the band release button with one finger.
- While holding the button, use your other hand to gently slide the band to one side.
- The button will unlock the band from its slot. Keep pressing until the band pops out easily.
- Be gentle—don’t use too much force, or you could damage the mechanism.
3. Slide the Band Out
- Once the band is unlocked, slide it out of the slot in one smooth motion.
- Don’t force it. If it feels stuck, double-check that you’re pressing the release button all the way down.
- The band slots may slightly differ depending on whether you have the Series 9, 8, 7, or 3. However, the general idea is the same.
- Make sure to hold the watch securely so it doesn’t slip while you remove the band.
4. Repeat for the Other Side
- Now, turn the watch over and repeat the process for the second band.
- You might find the second band comes off a little easier, as the mechanism is similar.
- Just be careful when pressing the release button and avoid pulling too hard on the band.
Optional: Cleaning Your Apple Watch Band
- Once the band is removed, it’s the perfect time to give it a quick clean.
- For leather bands, use a soft cloth to wipe it down.
- For silicone or sport bands, a mild soap and water solution works well.
Read more: My Apple Watch: The Only Gadget I Wear Every Single Day
How to Put on Your Apple Watch Band
Putting your Apple Watch band back on is just as simple as taking it off. Once you’ve cleaned your band or swapped it for a new one, follow these easy steps to securely click it back into place. Let’s get that band back on your watch!
1. Align the Band with the Slot
- Hold your Apple Watch in one hand and the band in the other.
- Make sure the band is facing the right direction. The “loop” part of the band should be facing you.
- Line up the metal part of the band with the slot on the watch.
2. Slide the Band In
- Gently slide the band into the slot, ensuring it fits snugly.
- You might feel slight resistance as you slide it in, but don’t force it.
- Keep sliding until the band is almost all the way in.
3. Hear the Click
- Once the band is properly aligned, press it firmly into place.
- You should hear a soft “click” when it’s secure.
- That click means the band is fully attached, and it’s not going anywhere.
Read More: Best Apple Watch Bands
Troubleshooting: My Apple Watch Band Won’t Come Off!
If your Apple Watch band is stuck, don’t panic. Sometimes, it’s just a little stuck due to debris or pressure. I’ve been there, and here’s how you can fix it without damaging anything.
1. Check for Debris
- Inspect the band slot for any dirt or debris.
- Use a soft cloth or cotton swab to clean it gently.
- Sometimes, tiny particles can get lodged, causing the band to stick.
2. Apply Slight Pressure
- Press the release button and apply gentle pressure on the band.
- Don’t force it, but a slight push might help it pop out.
- If it still won’t move, try adjusting the angle.
3. Avoid Using Excessive Force
- Never yank the band or use sharp tools.
- Forcing it could damage both the band and the watch.
- If nothing works, consider visiting an Apple Store or authorized repair center for help.
Popular Apple Watch Bands You Might Want to Try
Looking for a new band for your Apple Watch? There are plenty of options out there! Whether you prefer a sporty look, something more classic, or something in between, there’s a band for you.
1. Sport Bands
- Made from fluoroelastomer, these are flexible and durable.
- Perfect for workouts or casual wear.
- Comes in many colors and sizes.
2. Leather Bands
- Adds a touch of elegance to your watch.
- Great for formal occasions or a polished look.
- Available in various styles and finishes.
3. Stainless Steel Bands
- A sleek, professional option.
- Offers a more sophisticated, polished look.
- Adjustable and comfortable for all-day wear.