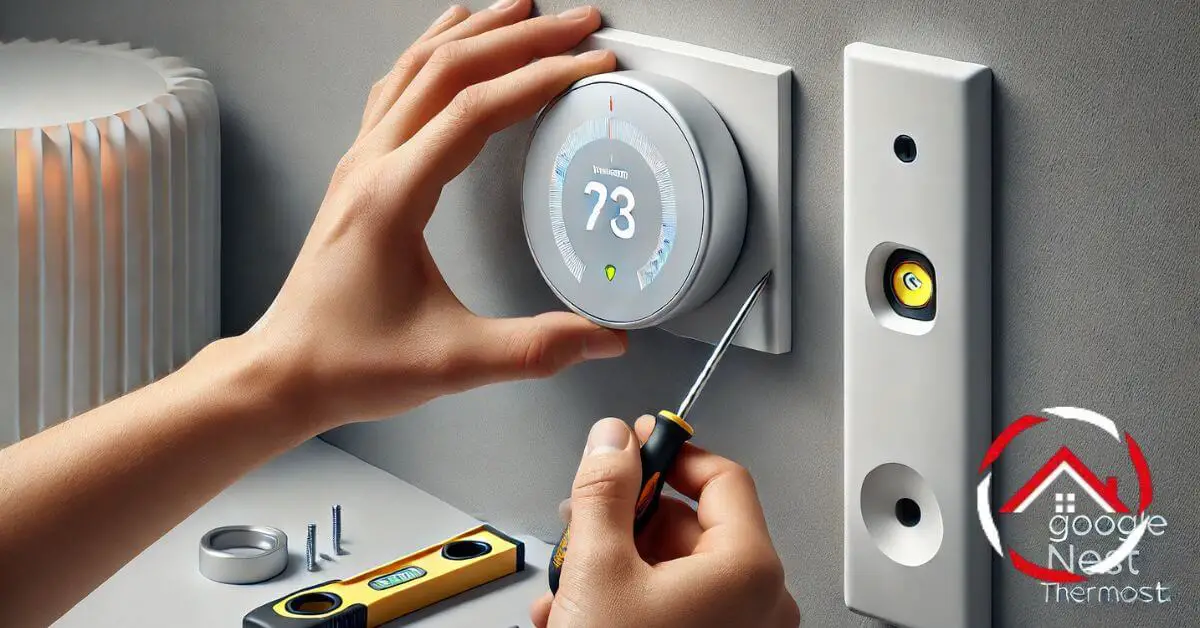
Ready to remove your Google Nest Thermostat? Don’t worry; it’s simpler than you think! Whether you’re upgrading or need to replace it, knowing the right steps can make the process a breeze.
In this guide, we’ll walk you through each step to safely disconnect and remove your Nest Thermostat.
Just gather a few basic tools and follow along as we cover everything from switching off the power to carefully detaching the device from the wall.
With clear instructions and a little patience, you’ll have your thermostat unmounted and ready for the next step in no time!
Table of Contents
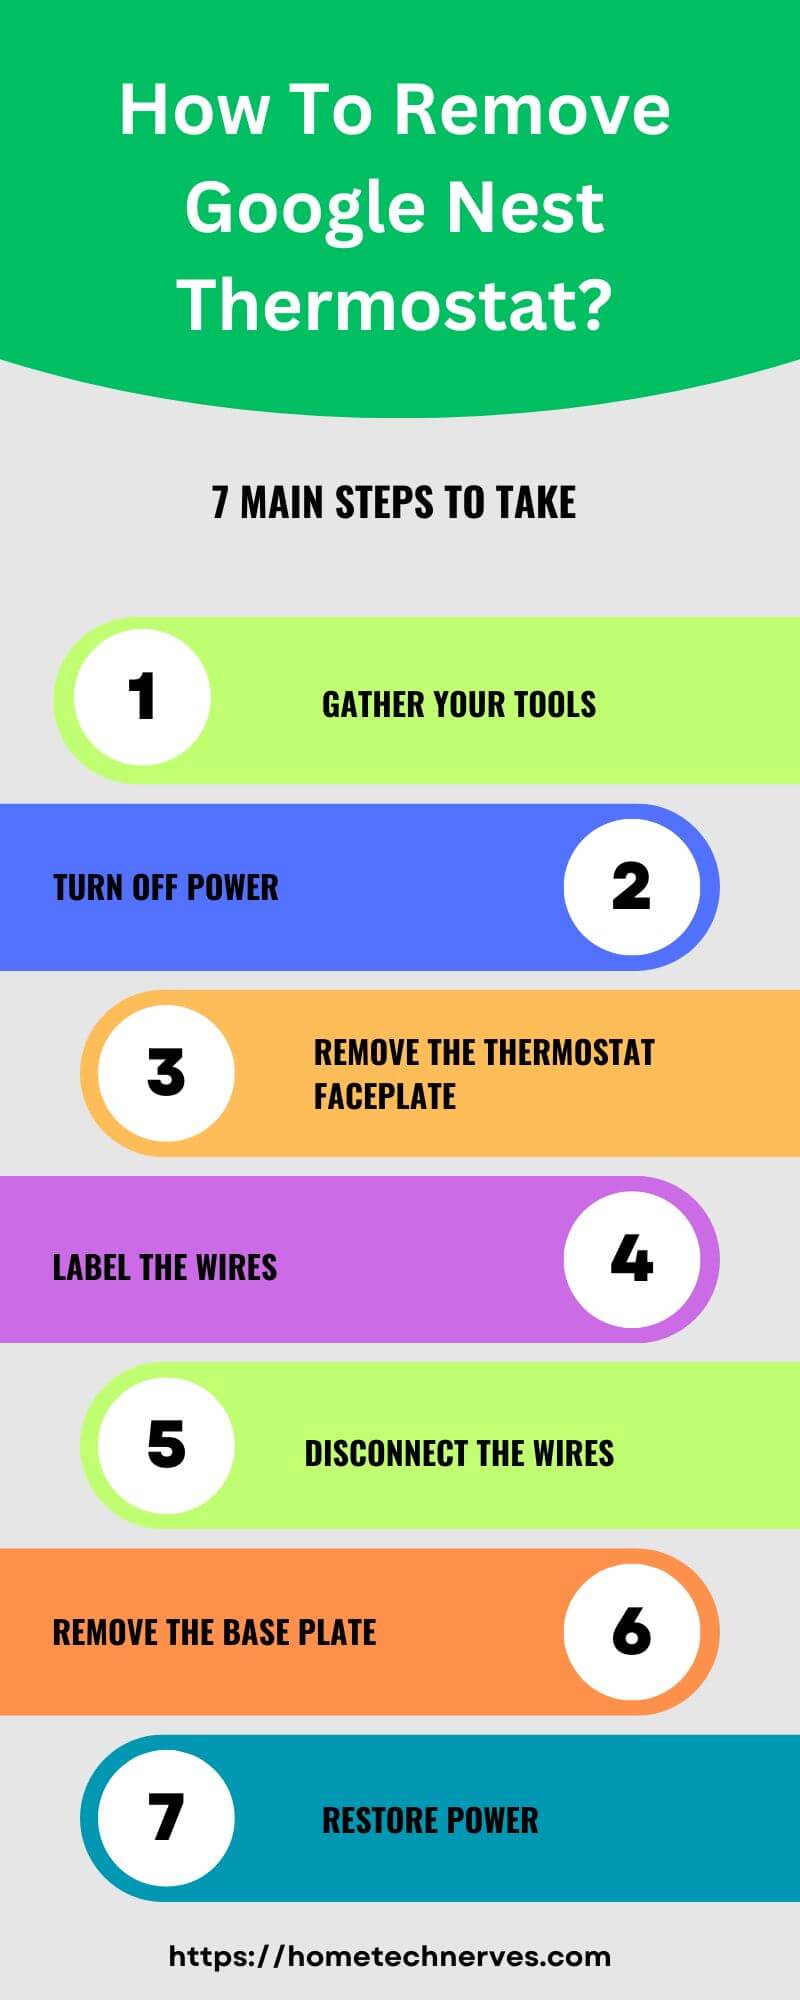
How To Remove Google Nest Thermostat?
Thinking of removing your Google Nest Thermostat? Whether it’s time for an upgrade or a quick replacement, you’ll want to handle it carefully to avoid any damage. Here’s a step-by-step guide to help.
- Turn off power at the circuit breaker to avoid electrical risks.
- Take a picture of the wiring setup for easy reinstallation later.
- Remove the Nest display by gently pulling it straight off the wall.
- Label the wires to keep track of connections.
- Use a screwdriver to loosen screws securing the base plate.
- Detach the wires by pressing down on connectors and gently pulling.
- Remove the base plate carefully, checking for any adhesives.
- Inspect the wall and clean any remaining marks or residue.
How To Remove Google Nest Thermostat From Wall?
Removing your Google Nest Thermostat from the wall may seem tricky, but with the right steps, it’s straightforward.
Follow this easy guide to safely take down your thermostat without causing damage.
- Turn off the power at the circuit breaker to prevent electric shock.
- Take a clear photo of the wire connections for later reference.
- Gently pull the thermostat display off the base to expose wiring.
- Label each wire to ensure easy reinstallation if needed.
- Unscrew the base plate using a small screwdriver to loosen the screws.
- Press the connectors to release the wires, carefully pulling each one out.
- Remove the base plate from the wall, being mindful of any adhesives or screws.

How To Nest Thermostat Remove From Base And Reattach?
Planning to remove your Nest Thermostat from its base or reattach it? Knowing the correct process can save time and prevent any device damage. Here’s a quick guide to help you out.
- Switch off the power at the breaker to avoid electrical issues.
- Carefully pull the thermostat straight off the base without twisting.
- Label each wire before disconnecting to simplify reattachment later.
- Loosen screws on the base plate with a small screwdriver if needed.
- Press the connectors to release wires from the thermostat base.
- Reattach the base by aligning it back on the wall and securing screws.
- Reconnect wires and attach display by pressing it back onto the base.
How To Remove Google Nest Thermostat Without Screws?
Want to remove your Google Nest Thermostat without dealing with screws? You’re in the right place! This simple guide will help you safely detach it without tools or hassle.
- Turn off the power at the circuit breaker to ensure safety.
- Gently pull the display straight off the base without twisting.
- Check for clips that might be holding the thermostat to the wall.
- Press down on any release tabs if your model includes them.
- Wiggle gently if it’s tight to avoid damaging the wall or thermostat.
- Pull the thermostat free by applying even pressure on both sides.
- Inspect the wall and wires for any leftover adhesives or marks.
How To Remove Nest Thermostat To Charge Battery?
If your Nest Thermostat battery needs a charge, removing it carefully is essential. Follow these simple steps to safely take down and charge your device.
- Switch off the power at the breaker to avoid electrical hazards.
- Gently pull the thermostat display straight off the base to expose the back.
- Locate the charging port on the back of the thermostat display.
- Disconnect the thermostat from any wall-mounted base if needed.
- Use a compatible charger (such as a USB cable) to start charging the battery.
- Wait until fully charged to ensure uninterrupted use when reattached.
- Reattach the thermostat by aligning it back onto the base and securing it.
How To Remove Nest Thermostat To See QR Code?
Need to access the QR code on your Nest Thermostat? It’s simple and quick to remove the device to view it. Follow these steps to locate the QR code without hassle.
- Turn off the power at the breaker to stay safe during removal.
- Gently pull the display straight off the thermostat base to access the back.
- Locate the QR code usually found on the back of the thermostat display.
- Check the thermostat base in case the QR code is placed there.
- Hold the display steadily to scan the QR code with your device.
- Ensure good lighting so the QR code is clearly visible for scanning.
- Reattach the display by pressing it back onto the base once done.
How To Remove Nest Thermostat From Google Account?
Looking to disconnect your Nest Thermostat from your Google account? Removing it from the app is straightforward and ensures your device is no longer linked. Follow these quick steps to complete the process.
- Open the Google Home app on your smartphone or tablet.
- Tap on your thermostat from the list of connected devices.
- Go to device settings by tapping on the gear icon.
- Select ‘Remove Device’ to begin the disconnection process.
- Confirm the removal when prompted to finalize the action.
- Unlink any additional accounts that may also be connected.
- Restart the Google Home app to ensure the thermostat is fully removed.
How To Remove Nest Thermostat From App?
Need to remove your Nest Thermostat from the app? Disconnecting it is easy and helps keep your device list organized. Here’s how to remove it quickly from the Google Home or Nest app.
- Open the Google Home or Nest app on your mobile device.
- Select your thermostat from the list of connected devices.
- Tap on settings by selecting the gear icon in the device menu.
- Choose ‘Remove Device’ to begin disconnecting the thermostat.
- Confirm removal when prompted to ensure it’s unlinked from the app.
- Wait for confirmation to see that the device has been successfully removed.
- Restart the app to refresh and confirm the thermostat no longer appears.
Wrap Up
Removing your Google Nest Thermostat doesn’t have to be tricky. With the right steps, you can safely detach it, whether for an upgrade, a charge, or troubleshooting.
By turning off the power, carefully handling the wiring, and following each step, you protect both your thermostat and wall.
Now that you know the process, you’ll be ready whenever you need to remove or reattach it. Stay patient, keep your tools close, and remember, each step matters.
If you’re ready for more thermostat tips or need expert help, explore our detailed guides or reach out for support!
Frequently Asked Questions
How do I safely remove my Google Nest Thermostat?
To safely remove your Google Nest Thermostat, first turn off the power to your HVAC system. Then, gently pull the thermostat from its base, disconnecting wires carefully. Always label each wire to ensure proper reinstallation if you plan to reinstall later.
Do I need to turn off power before removing the Nest Thermostat?
Yes, always turn off power to your HVAC system at the breaker box before removing the Nest Thermostat. This precaution prevents electrical hazards, protects the thermostat from potential damage, and ensures a safe removal process for both you and your device.
What tools do I need to remove a Nest Thermostat?
You typically need a small screwdriver, like a Phillips or flat-head, to loosen the screws holding the wires. Labels for marking wires are also helpful to remember wiring positions if reinstalling the thermostat or installing a new one later.
Will removing the Nest Thermostat erase my settings?
Yes, removing the thermostat from the wall may reset settings. If you need to retain data, reset it in the app before removal. Once disconnected, most data, like schedules or preferences, may be lost, so backup any information you need first.
Reference
Google Nest Community. Removing the nest thermostat from its base


Thank you for your sharing. I am worried that I lack creative ideas. It is your article that makes me full of hope. Thank you. But, I have a question, can you help me?