
You can send a voice message on your iPhone quickly using the Messages app. With iOS 17 it takes a tap and a record. You’ll save time and express yourself clearly.
Key Takeaway
How to send a voice message on iPhone covers:
- Open the Messages app.
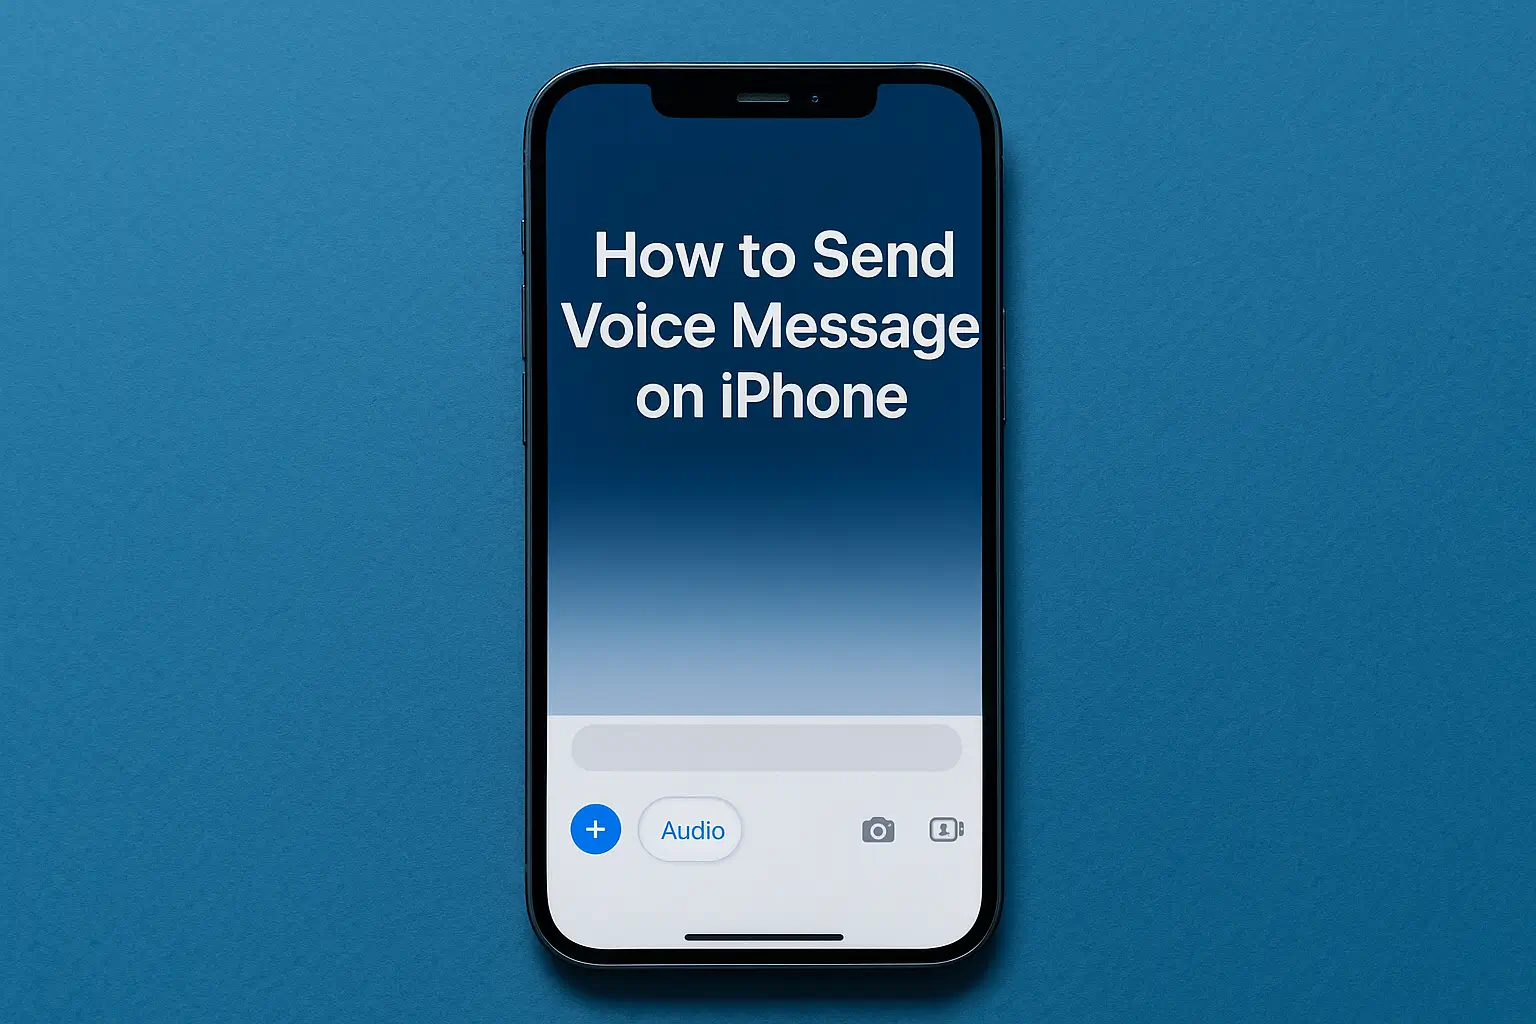
- Tap the “+” icon next to the text field.
- Select the Audio option and record your voice message.
- Review and send.
Now you’re ready to speak your thoughts instead of typing them.
Introduction
If you’ve ever wished you could speak your message instead of typing, this article is for you.
After ten years helping users master their iPhones, I’ll walk you through how to send voice messages on iPhone, including the latest steps in iOS 17, and how to troubleshoot when things go wrong. You’ll gain confidence and control.
Read more: iPhone Guide: Master Your Device with Easy Tips and Tricks
Table of Contents
Helping Jack How to Send a Voice Message on iPhone
One afternoon, Jack, a friend of mine, struggled to send a voice message on his iPhone. He couldn’t find the option in the Messages app. After showing him, I tapped the microphone icon beside the text field.
Jack smiled as the voice message feature appeared. I explained to him to hold the icon, record, and release when done. Jack quickly sent his first voice message, feeling relieved and impressed with how simple it was.
Read more: My Guide to iPhone Privacy & Settings for Ultimate Security
Why you might prefer a voice message instead of text
Typing limits tone and speed. Voice adds clarity.
- Speaking averages about 120 words per minute. Typing averages 40.
- Voice shows intent and emotion better.
- You can record hands-free when busy or walking.
- Messages app integrates it directly, no extra app needed.
What to check before sending a voice message on iPhone
Before recording, confirm a few basics.
- iPhone must run iOS 17 or later.
- Check microphone permission under Settings → Privacy → Microphone → Messages.
- Ensure Wi-Fi or mobile data is active.
- If sending to non-iPhone users, know that audio might compress or act differently.
- Optional: turn off “Raise to Listen” in Settings if you prefer full manual control.
How to send a voice message on iPhone (iOS 17 focus)
Sending a voice message on iPhone with iOS 17 is simple and fast, letting you record, review, and share your voice in just a few taps.
Step-by-step guide
- Open the Messages app and select a chat.
- Tap the “+” symbol near the text field.
- Tap “Audio” to start recording instantly.
- Speak naturally. Tap stop when finished.
- Play it back, delete it, or tap send (blue arrow).
- To save time, record short clips instead of long monologues.
Pause and continue recording
iOS 17 lets you pause and continue a single recording.
- Tap stop to pause.
- Tap record again to resume.
- Review and send once satisfied.
Avoid disappearing voice messages
By default, audio messages may expire after 2 minutes unless you choose “Keep.”
To keep all: go to Settings → Messages → Audio Messages → Expire → Never.
If messages vanish, this is usually the cause.
How to fix or enable voice messages on iPhone
If you don’t see the microphone or Audio option:
- Check if iMessage is turned on in Settings → Messages.
- Verify microphone permission under Privacy.
- Try long-pressing the “+” icon if Audio isn’t visible.
- Restart your iPhone or update iOS if you see “Cannot send audio messages.”
- Disable “Raise to Listen” if it triggers unwanted recordings.
Pro Tip: After every major iOS update, send a quick test audio to confirm everything works.
Sending a voice message to non-iPhone users
When the other person uses Android, your message sends as MMS.
Steps:
- Tap “+” → Audio → record → send.
- Be aware that some carriers compress large files.
- For longer recordings, use the Voice Memos app and share through Messages or email.
This ensures better quality and compatibility.
If your voice message fails or disappears
If sending fails or the file vanishes:
- Check your connection and available storage.
- Confirm iMessage is active and signed in with Apple ID.
- Make sure Messages is not set to delete after two minutes.
- Press and hold a message, then tap “Keep” to save it permanently.
- Delete old threads and restart your phone if issues continue.
Voice messages vs Voice Memos vs Text
Each serves a different purpose.
- Voice Message: Fast, expressive, built into Messages.
- Voice Memo: Ideal for long recordings or saved notes.
- Text: Best for searchable or formal content.
Choose based on your goal. Use voice for speed, text for detail, and memos for storage.
Privacy and control tips
Keep your audio secure and professional.
- Disable “Raise to Listen” if you record by accident.
- Keep messages short and clear.
- Delete sensitive messages when no longer needed.
- iMessage encrypts your voice messages end-to-end.
- If used for work, label files for easy tracking.
Pro Tip:
If you often send voice messages, add “Audio” to your Favorites in the Messages app menu. This keeps the voice message button one tap away, saving you time.
Quote from Expert:
Audio messages help you say more in less time and keep emotion in your voice.
says a senior Apple trainer with 10 years’ experience.
Quick comparison chart
| Feature | Voice Message | Voice Memo | Text |
|---|---|---|---|
| Ease | One tap | Extra steps | Simple |
| Length | Short | Long | Any |
| Tone | Natural | Clear | Flat |
| Best use | Fast chats | Detailed audio | Precise notes |
Conclusion: Try it and speak your message
You’ve learned how to send a voice message on your iPhone, fix issues, and use settings to keep them.
Use your voice to connect faster and express tone clearly. Open Messages, record one, and send it today.
Grab your iPhone, open a chat, press “+”, record, and send your first voice message. It takes seconds and makes your communication more personal.
Frequently Asked Questions
Can I send a voice message on iPhone during a call?
No. While a call uses your microphone you can’t record in Messages. End or hold the call first, then send your message.
How long can a voice message be on iPhone?
There’s no exact limit but large files may fail over weak connections. For long audio use Voice Memos instead.
Will my voice message send if the other person is offline?
Yes. It delivers once they reconnect to the internet. If sent as SMS it may wait until the carrier network is available.
Citations:
Apple Support. Send and receive audio messages in Messages on iPhone
