I wanted a security camera that wouldn’t break the bank. My home isn’t huge, but I still wanted to keep an eye on things. I needed something simple, wireless, and easy to install. After some research, I kept seeing the name Wyze Outdoor Camera pop up. It had good reviews, a solid battery life, and clear video quality. Plus, it didn’t cost a fortune. That sounded like a win.
I decided to give it a shot. Ordering was easy, and the price made it feel like a low-risk choice. When the package arrived, I was excited to set it up.
Table of Contents
Unboxing and First Impressions: My Experience with Wyze Outdoor Cameras
A new gadget always feels exciting. I was eager to see what was inside.
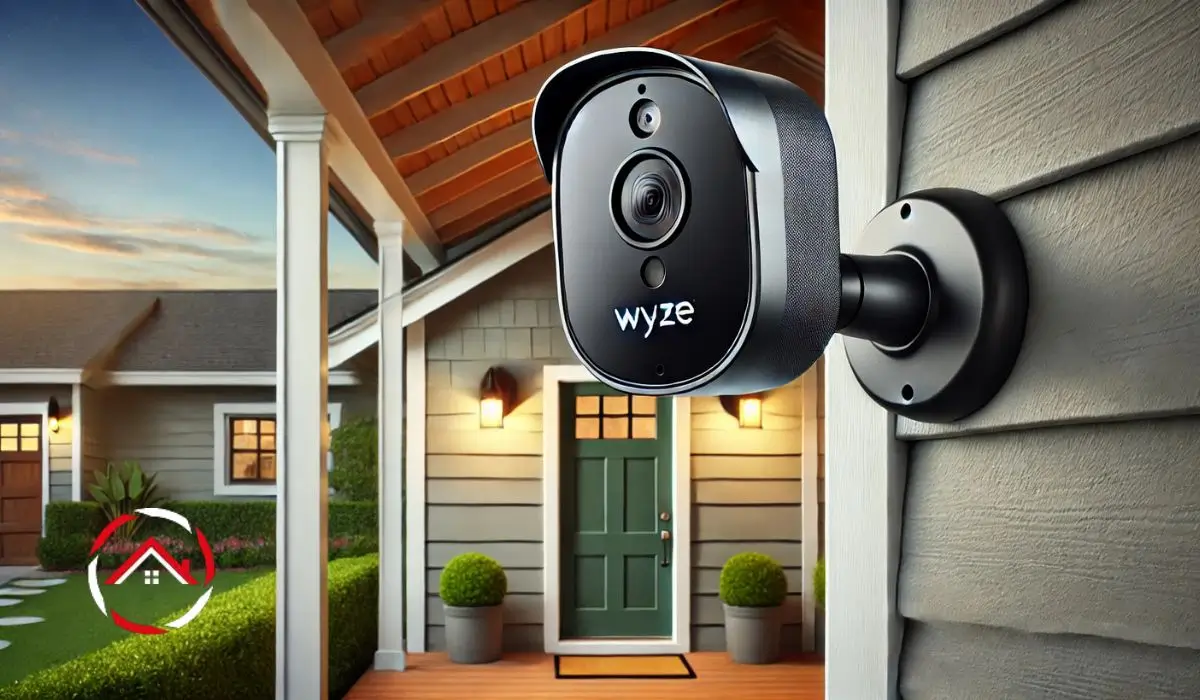
The box was compact and neatly packed. Everything had its place, making it easy to spot each item. The Wyze Cam Outdoor v2 and v3 both felt solid in hand. They were lightweight but sturdy, built to handle outdoor conditions. The matte finish gave them a clean, modern look.
Inside the box, I found everything I needed:
- The camera itself, sleek and minimal
- A base station for reliable connectivity
- Mounting hardware for easy installation
- A USB charging cable and power adapter
Setting it up felt like a simple task even before I started. I liked that Wyze didn’t overcomplicate things. The pieces fit together well, and the design was clearly made for quick installation. So far, it looked like a smart choice for my home security.
Setting Up My Wyze Outdoor Camera: A User-Friendly Process
I wanted an easy setup, not a long-winded process. Wyze made sure of that.
Everything started with the Wyze app. I downloaded it, created an account, and followed a few clear steps. The app walked me through pairing the camera with the base station. It only took a few minutes.
Here’s how I got my camera up and running:
- Plugged in the base station and connected it to my Wi-Fi
- Pressed the sync button on the camera
- Scanned the QR code on my phone to link it
- Waited for the chime that confirmed the connection
- Mounted the camera in my chosen spot
The connection was smooth, with no frustrating drop-offs. Adjusting the camera angle was easy, thanks to the flexible mount. My biggest concern was Wi-Fi strength, but the base station helped keep it stable.
The process was quick and painless. Within minutes, I had a working security camera keeping an eye on my home.
Setting Up My Wyze Outdoor Camera: A User-Friendly Process
I wanted something simple, not a tech headache. Wyze made setup quick and easy.
Everything started with the Wyze app. I downloaded it, signed in, and followed a few steps. The app guided me through pairing the camera with the base station. No complicated instructions—just clear, step-by-step directions.
Here’s how I set it up:
- Plugged in the base station and connected it to my Wi-Fi.
- Turned on the camera and pressed the sync button.
- Scanned the QR code on my phone to link the devices.
- Heard the chime that confirmed a successful connection.
- Mounted the camera in my chosen spot and adjusted the angle.
Connecting to Wi-Fi was smooth. The app detected my network quickly, and I didn’t need to mess with extra settings. The hardest part? Finding the best place to mount the camera. But once I got the angle right, everything worked perfectly. Within minutes, my Wyze Outdoor Camera was ready to go.
Performance in Real Life: How Wyze Outdoor Cameras Stood Up
A security camera is only as good as its performance. I needed clear video and fast alerts.
Day and Night Video Quality
The 1080p HD resolution delivered sharp footage during the day. Faces, license plates, and small details were easy to spot. The color night vision on the Wyze Cam Outdoor v3 was impressive. Even in low light, the image stayed clear. The v2 model had standard night vision, which worked well but lacked color in darkness.
Motion Detection and Alerts
I tested the motion detection by walking past the camera at different speeds. The motion sensor picked up movement quickly and sent a notification within seconds. The adjustable sensitivity helped reduce false alerts from trees or passing cars. It also had a setting to detect people specifically, which made the notifications more useful.
Battery Life in Daily Use
Wyze claims the battery lasts 3 to 6 months per charge. In my experience, it held up well. In a high-traffic area, the battery drained faster, lasting around 2 months. A low-traffic spot extended it closer to 5 months. The Wyze Solar Panel helped keep it charged longer.
Weather Durability
I tested it through rain, wind, and snow. The camera held up without any issues. The IP65 weather resistance meant no fogging or water damage. It worked just as well in freezing temperatures as it did in summer heat.
Enhancing My Setup: Exploring Wyze Accessories
Charging a security camera every few months wasn’t ideal. I wanted a better option.
Wyze Solar Panel for Longer Battery Life
I decided to try the Wyze Solar Panel to keep my camera powered. It was small, lightweight, and designed to work with the Wyze Cam Outdoor v2 and v3. The setup was simple.
- Mounted the panel in a spot with direct sunlight.
- Connected the cable to the camera’s charging port.
- Checked the Wyze app to confirm it was receiving power.
Less Maintenance, More Uptime
With the solar panel, my camera stayed charged without interruptions. It removed the hassle of manual charging and kept my security system running. Even on cloudy days, the battery drained slower than before. For me, it was a smart upgrade that saved time and effort.