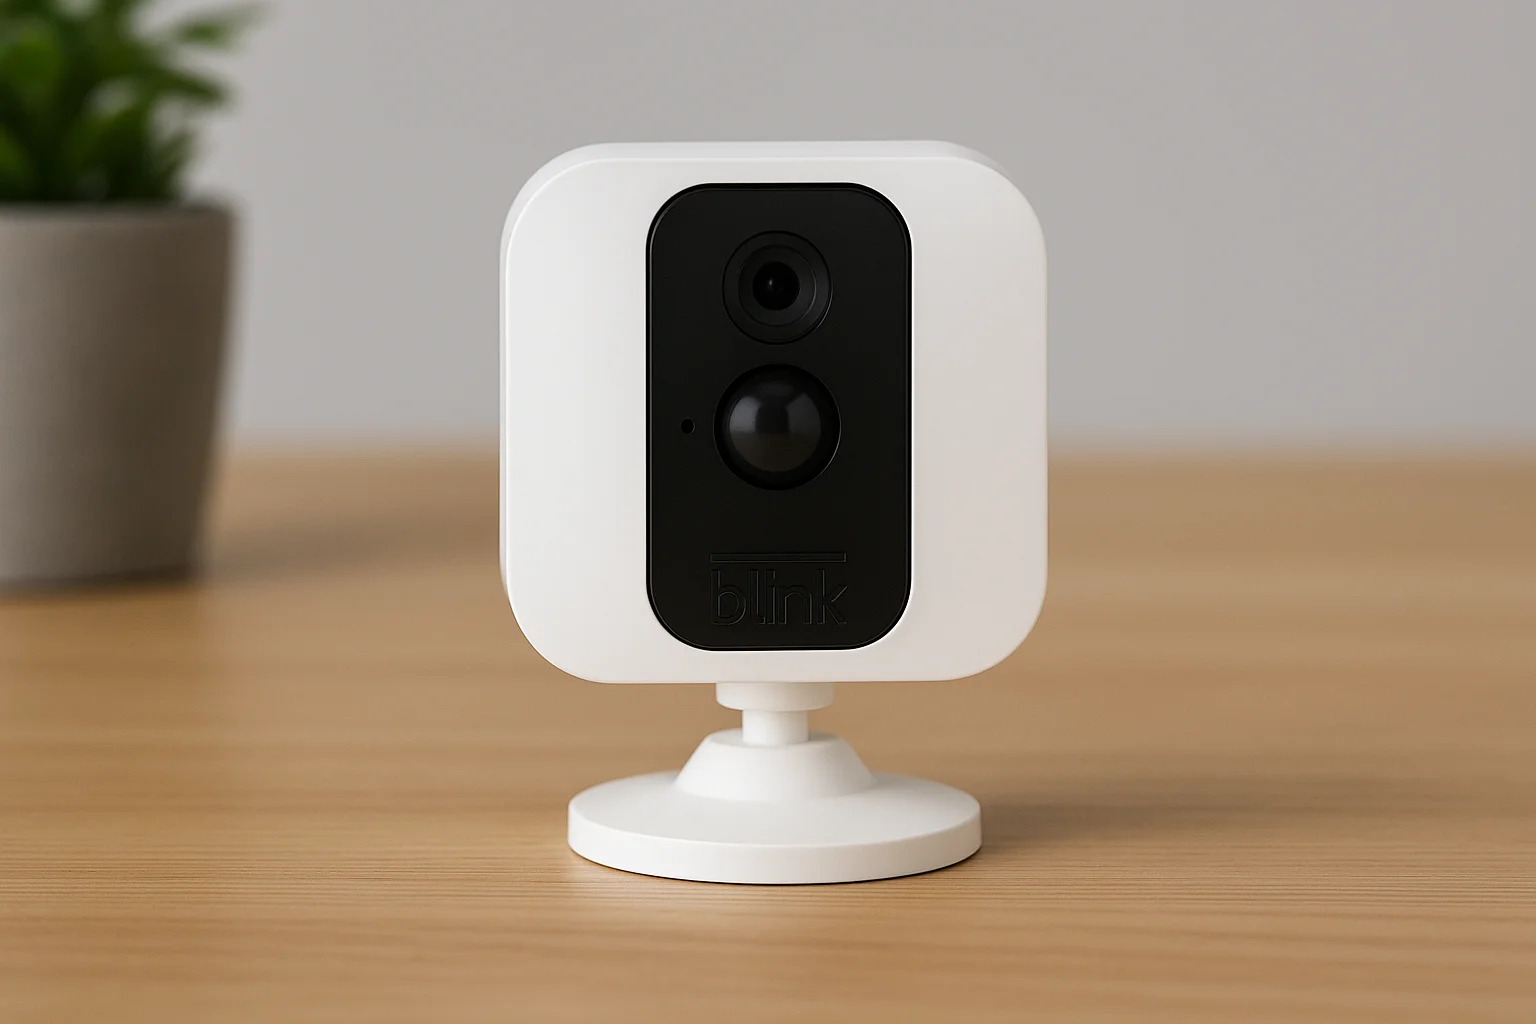
I wanted a simple way to keep an eye on things at home. Nothing fancy—just something I could check from my phone. That’s when I found the Blink Indoor Camera. I liked that it was small and didn’t need wires. I could put it on a shelf or stick it on a wall without drilling holes.
It works with Alexa, so I can check the feed by just asking. That was a bonus. I’d looked at the Blink Outdoor Camera too, but I didn’t need weather protection. For inside use, this felt just right. Simple, smart, and quick to set up.
Disclosure: This post contains affiliate links. If you purchase through these links, I may earn a small commission at no extra cost to you.
| Blink Indoor Camera |
|---|
| Top Features: |
| ✔ 1080p HD Video – Clear, high-definition footage |
| ✔ Two-Way Audio – Communicate through the camera |
| ✔ Infrared Night Vision – Monitor in low-light conditions |
| ✔ Motion Detection – Receive alerts on movement |
| ✔ Up to 2-Year Battery Life – Long-lasting performance |
| Customer Ratings: ★★★★☆ (4.4/5) |
| Buy on Amazon |
Table of Contents
Blink Indoor Camera Mini: Why I Picked the Smallest One
It’s small, neat, and doesn’t stand out in a room. That’s what I wanted.
It fits anywhere and still does the job well.
Key features I like about the Mini:
- Compact size: It’s about the size of a deck of cards
- Clear video: The picture is sharp during the day and night
- Motion alerts: Sends me a quick phone alert when it senses movement
- Two-way audio: I can hear and talk through the camera using the app
- Alexa support: I just ask Alexa to show me the feed
Where it works best in my home:
- Apartments: No wires, no hassle
- Baby’s room: It lets me see and hear everything
- On my desk: I use it to check on the front door while I work
Why I picked this over others:
- It’s affordable: Costs less than most smart cameras
- It’s small: I can hide it on a shelf or windowsill easily
How I Set Up My Blink Indoor Camera Without Any Trouble
I don’t like long setup times. This one took less than 10 minutes.
I didn’t need tools or help—just my phone and Wi-Fi.
Here’s how I got it working fast:
- Unbox and plug it in: I used the included USB cable and power adapter
- Download the Blink app: I got it from the app store on my phone
Then I followed these steps:
- Tap “Add Device”: The app guided me clearly
- Scan the QR code: I found it on the back of the camera
- Connect to Wi-Fi: I picked my home network and typed the password
- Name your camera: I called mine “Living Room” so it’s easy to spot in the app
What about the 3rd Gen model?
- Same setup steps: If you’ve used any Blink before, this one feels familiar
- Slight design tweaks: But nothing that changes the way you set it up
Blink Indoor Camera with Audio: How I Talk and Listen Through It
Sometimes I need to speak through the camera. This makes it easy.
The audio works well, especially in a quiet room.
What the audio feature gives me:
- Built-in mic and speaker: I can hear what’s going on and speak back
- Talk to pets: I say “no” when the dog jumps on the couch
- Check on kids: I remind them to finish homework without leaving my desk
- Alert intruders: A loud voice from the camera can be enough to scare someone
How it sounds:
- Clear indoors: Voices are easy to understand if the room is quiet
Blink Indoor Camera Review: My Real Thoughts After Using It
I’ve used this camera for a while now. It’s been steady and easy.
It does what I need without extra steps or confusion.
How it performs for me:
- Good in daylight: Picture looks clean and bright
- Works at night: Night vision is clear enough to see everything
- Fast motion alerts: Picks up movement with almost no delay
Using the app feels easy:
- Simple layout: I can view live feed, talk, and check clips fast
- No lags: It connects quickly when I open it
Things I like:
- No wires: I can place it anywhere
- Affordable price: Costs less than others I looked at
Things that could be better:
- Needs Wi-Fi: Won’t work well if the signal is weak
- No local storage: Cloud is the only option unless you add a Sync Module
Blink Indoor Camera 3rd Generation: What’s New for Me
I wanted to try the newer version to see what changed.
It’s still simple but comes with a few solid updates.
What I noticed right away:
- Sharper video: Looks better, even in lower light
- Better motion alerts: Fewer false alarms from background movements
- Stronger Wi-Fi connection: Doesn’t drop as often as older ones
Minor changes in build:
- Sleeker design: Feels a bit more modern
- Same setup process: Nothing new to learn, which I liked
Blink Indoor Camera Subscription: What I Pay and What I Get
At first, I didn’t want a subscription. But I changed my mind later.
The free plan was fine, but I wanted to save clips.
Here’s the difference:
- Free features: Live view, motion alerts, two-way audio
- With a plan: Saves video clips to the cloud for up to 60 days
Plan choices I saw:
- Monthly: Pay each month with no long-term lock-in
- Yearly: Costs less over time if I pay once
Cloud storage makes sense if:
- You want to check past events: Like missed motion alerts
- You travel often: And want to look back later


