
Changing the Wi-Fi on your Wyze camera can seem tricky, but it’s easier than you think! Whether you moved your camera or upgraded your router, knowing how to reconnect it to Wi-Fi is essential.
First, ensure your camera is powered on and near your Wi-Fi network. Next, you’ll use the Wyze app to guide you through the process.
Don’t worry; we’ll walk you through every step. By the end, your camera will be back online, ready to keep an eye on your home.
Let’s dive in and get your Wyze camera connected to Wi-Fi smoothly!
Table of Contents
How To Change WiFi On Wyze Camera Without Password?
Changing the Wi-Fi on your Wyze camera can be done easily, even if you don’t have the password handy. Follow these simple steps to reconnect your camera seamlessly.
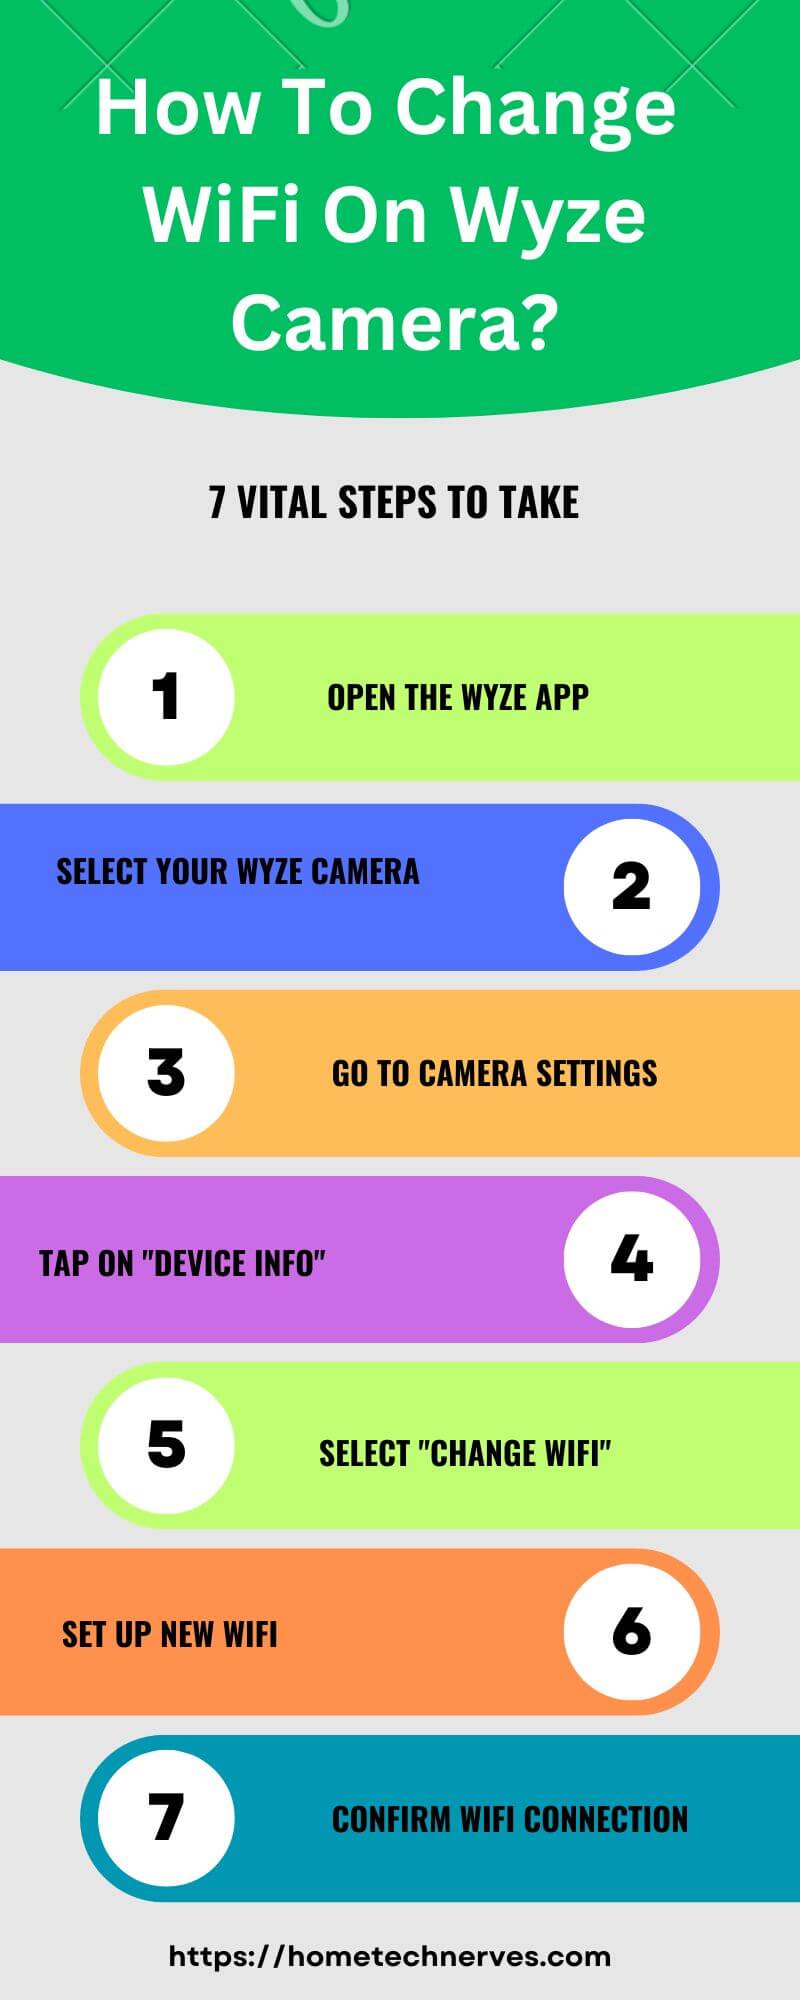
- Open the Wyze App: Launch the Wyze app on your smartphone. Make sure you’re logged into your account.
- Select Your Camera: Tap on the camera you want to change the Wi-Fi for. This opens the camera settings.
- Go to Device Settings: Click on the gear icon in the top right corner. This takes you to the camera’s settings menu.
- Choose “Wi-Fi Network”: Find the option labeled “Wi-Fi Network.” Tap on it to start the Wi-Fi setup process.
- Select New Wi-Fi Network: The app will scan for available networks. Choose your new Wi-Fi network from the list.
- Use the QR Code: If prompted, you may need to scan the QR code displayed in the app with your camera.
- Complete the Setup: Wait for your camera to connect to the new Wi-Fi network. You’ll receive a confirmation once it’s successful!
How Do I Connect My Wyze To A New Wi-Fi?
Connecting your Wyze camera to a new Wi-Fi network is a straightforward process. Whether you’ve moved to a new location or upgraded your internet, you can get your camera back online in no time.
Just follow these easy steps to ensure a smooth connection.
- Launch the Wyze App: Open the Wyze app on your smartphone. Ensure you’re logged into your account for easy access.
- Select the Camera: Tap on the camera you want to reconnect. This will bring you to the camera’s main settings.
- Access Device Settings: Click on the gear icon in the upper right corner. This will take you to the detailed settings for your camera.
- Find Wi-Fi Settings: Look for the option labeled “Wi-Fi Network” and tap on it. This will allow you to start the Wi-Fi setup process.
- Choose Your New Network: The app will display available Wi-Fi networks. Select your new Wi-Fi network from the list.
- Scan QR Code: If prompted, use your Wyze camera to scan the QR code shown in the app. This step ensures your camera connects properly.
- Confirm Connection: Wait for the camera to connect to the new Wi-Fi. You’ll receive a notification when the connection is successful, and your camera will be ready to use!
How To Check Wi-Fi On Wyze Camera?
Checking the Wi-Fi connection on your Wyze camera is essential for ensuring it operates smoothly. A stable connection allows your camera to stream video and send notifications without interruption.
Here are simple steps to help you check your Wi-Fi status.
- Open the Wyze App: Start by launching the Wyze app on your smartphone. Make sure you’re logged into your account for seamless access.
- Select Your Camera: Tap on the camera you want to check. This action will open the camera’s live feed and settings.
- Access Device Settings: Look for the gear icon in the top right corner. Clicking this icon will lead you to the camera’s settings menu.
- Find Wi-Fi Status: Scroll down to locate the “Wi-Fi Status” option. Here, you’ll see the current connection status and signal strength.
- Check Signal Strength: Review the signal strength indicator. A strong signal ensures better performance and video quality.
- Test Internet Connection: If you experience issues, use the app to test your internet connection. This will help diagnose any connectivity problems.
- Reconnect If Necessary: If the Wi-Fi connection is weak or unstable, consider reconnecting to your network. Follow the prompts in the app to establish a more reliable connection.
How To Setup Wyze Cam V3 Without Wi-Fi?
Setting up your Wyze Cam v3 without Wi-Fi might seem challenging, but it’s doable with the right steps.
You can utilize the camera’s local storage feature to record and access footage without an internet connection.
Here’s how to set up your Wyze Cam v3 without needing Wi-Fi.
- Unbox Your Wyze Cam v3: Start by removing the camera from its packaging. Ensure you have all the components ready for setup.
- Connect Power Supply: Plug the camera into a power outlet using the provided USB cable and adapter. Wait for the camera to power on, indicated by a flashing yellow light.
- Insert MicroSD Card: If you want to save footage locally, insert a microSD card into the camera. This card allows for continuous recording, even without Wi-Fi.
- Set Up Camera Position: Place your camera in the desired location. Ensure it has a clear view of the area you want to monitor.
- Access Local Storage Settings: Use the Wyze app to access local storage settings. Even without Wi-Fi, you can adjust settings to ensure recordings are saved to the microSD card.
- Monitor via Local Access: Once set up, you can access recorded footage directly from the microSD card. Simply remove the card and view it on your computer.
- Reconnect to Wi-Fi Later: When you have access to Wi-Fi, you can reconnect the camera to the network. This will allow you to utilize the full features of the Wyze Cam v3, including live streaming and notifications.
How To Reconnect Wyze Camera?
Reconnecting your Wyze camera can help restore its functionality after a Wi-Fi change or a power outage.
Fortunately, the process is straightforward and can be completed in just a few minutes.
Follow these easy steps to get your Wyze camera back online.
- Open the Wyze App: Start by launching the Wyze app on your smartphone. Ensure you’re logged into your account to access your devices.
- Select the Camera: Tap on the camera you need to reconnect. This will take you to the camera’s settings and live feed.
- Access Device Settings: Click on the gear icon located in the top right corner. This will open the device settings menu for your camera.
- Choose Wi-Fi Network: Find the “Wi-Fi Network” option in the settings. Tap on it to begin the reconnection process.
- Select New Network: The app will show available Wi-Fi networks. Choose your desired network and enter the password if prompted.
- Initiate the Connection: After selecting the network, wait for the camera to connect. You will see a notification once the connection is successful.
- Confirm Connection Status: Check the camera’s status in the app to ensure it’s online. You can also view the live feed to confirm the connection is stable.
How Do I Get My Wyze Wireless Camera Back Online?
If your Wyze wireless camera goes offline, it can be frustrating. However, getting it back online is often a quick and simple process.
Follow these steps to reconnect your Wyze camera and ensure it’s functioning smoothly again.
- Check Power Supply: Ensure your camera is plugged into a working power outlet. Look for a solid or blinking light to confirm it’s powered on.
- Verify Internet Connection: Check your home Wi-Fi network. Make sure your router is working properly and that other devices are connected.
- Open the Wyze App: Launch the Wyze app on your smartphone. Ensure you are logged into your account to access your camera settings.
- Select Your Camera: Tap on the camera that is offline. This will bring you to the camera’s live feed and settings menu.
- Access Device Settings: Click on the gear icon in the top right corner. This will take you to the specific settings for your camera.
- Reconnect to Wi-Fi: Find the “Wi-Fi Network” option and tap it. Choose your home Wi-Fi network and enter the password to reconnect.
- Confirm Connection: Wait for the app to show that the camera is online. You can check the live feed to ensure everything is functioning properly.
How To Setup Wyze Cam V2?
Setting up your Wyze Cam v2 is a simple process that can enhance your home security. With just a few steps, you can monitor your space from anywhere using the Wyze app.
Let’s dive into how to get your camera up and running.
- Unbox Your Wyze Cam v2: Start by carefully removing the camera from its packaging. Ensure you have all components, including the power adapter and mounting materials.
- Connect to Power: Plug the camera into a nearby power outlet using the provided USB cable. Wait for the camera to power on, indicated by a flashing yellow light.
- Download the Wyze App: Install the Wyze app on your smartphone from the App Store or Google Play. Create an account if you don’t have one already.
- Add a New Device: Open the Wyze app and tap the “+” icon to add a new device. Select “Camera” from the list of available devices.
- Choose Wyze Cam v2: Select “Wyze Cam v2” from the device options. This ensures you are following the correct setup instructions.
- Connect to Wi-Fi: Follow the prompts to connect your camera to your Wi-Fi network. Enter your Wi-Fi password when prompted and wait for the camera to connect.
- Finalize Setup: Once connected, customize your camera settings in the app. You can adjust motion detection, notifications, and other features to fit your needs.
Wrap Up
Changing the Wi-Fi on your Wyze camera is a quick and easy process. By following the steps outlined, you can ensure your camera stays connected and functional.
Remember, a stable Wi-Fi connection is key to enjoying seamless streaming and notifications.
If you run into any issues, don’t hesitate to refer back to the instructions or consult the Wyze support page for additional help.
Now that you’re equipped with this knowledge, go ahead and reconnect your camera with confidence!
For more tips and tricks on maximizing your Wyze camera’s features, explore our other articles!
Frequently Asked Questions
How do I change the WiFi on my Wyze camera?
To change the WiFi on your Wyze camera, open the Wyze app, go to the camera’s settings, and select “WiFi Network.” Follow the prompts to connect to the new network. Ensure your camera is within range of your WiFi router.
How do I reconnect my Wyze camera to a new WiFi?
To reconnect your Wyze camera to a new WiFi, hold the camera’s setup button, follow the voice prompts, and use the Wyze app to select the new network. Complete the connection by entering the correct WiFi password when prompted.
Can you change WiFi on Wyze without resetting the camera?
No, you cannot change the WiFi on a Wyze camera without resetting it. You need to hold the setup button to initiate the reconfiguration and connect to a new WiFi network through the app. The process requires reconnecting the camera completely.
Why won’t my Wyze camera connect to new WiFi?
If your Wyze camera won’t connect to a new WiFi, check your router’s signal strength, ensure your network operates on 2.4GHz, and verify the correct password. Restart both the camera and the router, or reset the camera if necessary to reinitiate the connection process.
Reference:
support.wyze.com. How do I change my Wi-Fi details?
