Apple’s iOS 26 adds powerful document scanning features to iPhones. You can scan, edit, sign, and send documents directly from your device with the new Preview app.
Key Takeaways
How To Scan A Document On iPhone is made easy with iOS 26’s Preview app as it includes:
- Allow scanning, editing, and signing documents.
- You can scan documents for free using the iPhone camera and Notes app.
- iPhone models like 13, 14, and 16 have enhanced scanning capabilities.
- The Preview app simplifies document management and sharing.
- Scanning and editing are easy and free with no third-party apps required.
Introduction
Scanning documents on your iPhone is now easier than ever. iOS 26 has introduced the Preview app, which makes it simple to scan, edit, and sign documents without the need for additional apps.
Whether you need to sign a contract, send a quick form, or convert a paper document into digital text, your iPhone can handle it all.
Read more: iPhone Guide: Master Your Device with Easy Tips and Tricks
Table of Contents
How I Helped Someone Scan A Document on iPhone
A colleague was struggling with managing multiple contracts while working remotely. They spent hours scanning, signing, and emailing documents manually.
After introducing them to the new iOS 26 scanning features, they were able to scan and sign documents directly on their iPhone in minutes.
This saved them valuable time and reduced their reliance on third-party apps. It was a game-changer for their workflow.
Read more: iPhone Features: Discover What Sets It Apart
How iOS 26 Transforms Document Scanning on iPhone
With the introduction of iOS 26, document scanning has become more accessible and efficient. The Preview app allows users to scan, edit, and sign documents without additional software.
Whether you’re using an iPhone 13, iPhone 14, or the latest iPhone 16, the scanning process is streamlined and user-friendly.
Key Features of the iOS 26 Preview App
- Scan Documents: Quickly capture documents using your iPhone’s camera.
- Edit and Sign: Make changes to scanned documents and sign them digitally.
- Share: Send documents via email or cloud storage directly from your iPhone.
Key Features Of The iPhone’s Document Scanning Capabilities With iOS 26:
| Feature | Description |
|---|---|
| Scanning | Capture documents using iPhone’s camera with the Notes or Preview app. |
| Editing | Edit scanned documents directly within the Preview app. |
| Signing | Sign scanned documents digitally using the Preview app. |
| Sharing | Send documents via email or cloud storage directly from your iPhone. |
| Models Supported | Enhanced scanning on iPhone 13, 14, and 16. |
| Cost | Free document scanning using built-in iPhone apps, no third-party apps. |
How to Scan a Document for Free on iPhone
Scanning documents on iPhone has never been easier or cheaper. iOS 26 includes built-in tools that allow users to scan documents for free.
Using the Notes App for Quick Scanning
- Open the Notes app.
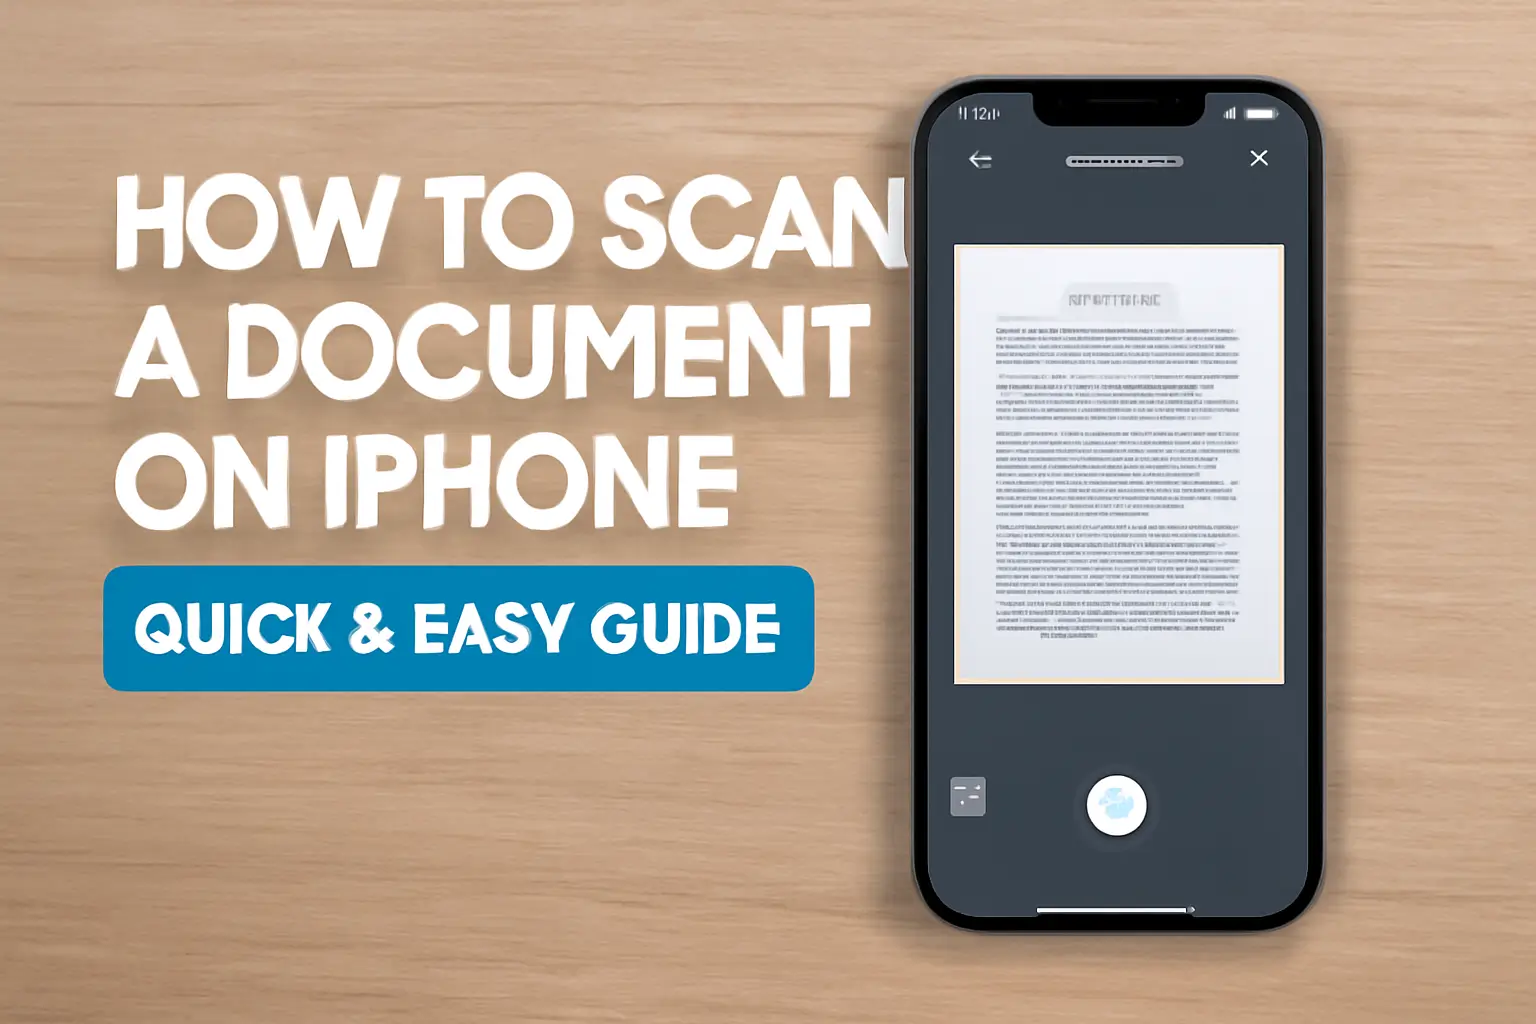
- Tap the camera icon and choose Scan Documents.
- Hold the iPhone over the document and let it automatically capture the scan.
- Review and save the scan to your Notes or share it via email.
Free Scanning on Older iPhone Models
Even if you’re using older iPhone models like the iPhone 13, the scanning process is simple and fast. Just use the Notes or Preview app to scan and send documents without additional costs.
How to Scan and Edit Documents Using the Preview App
The Preview app in iOS 26 is a powerful tool for document management. You can scan documents, edit text, and sign them all within the app.
Scanning and Signing Documents on iPhone
- Open the Preview app on your iPhone.
- Use the Scan feature to capture the document.
- Use the Edit tool to adjust the text or add signatures.
- Share or save the edited document directly from the app.
Advanced Editing Features on iPhone 16
iPhone 16 introduces enhanced editing features like improved OCR (Optical Character Recognition). This makes it easier to edit text within scanned documents, even on more complex files like contracts or forms.
How to Scan and Send Documents from Your iPhone
Sending scanned documents from your iPhone is as simple as scanning them. iOS 26 has streamlined the process, allowing you to quickly share documents with colleagues, clients, or friends.
Steps to Send Scanned Documents
- After scanning a document in Notes or Preview, tap the Share icon.
- Choose how to send the document: via email, text, or cloud storage.
- No need for third-party apps. Send everything directly from your iPhone.
Pro Tips for Scanning Documents on iPhone
For optimal results, follow these tips when scanning documents on your iPhone. They will ensure clear, readable scans every time.
- Ensure good lighting: This reduces glare and ensures clear scans.
- Align the document properly: Ensure the document is flat and fully in the frame.
- Use OCR: If available, use OCR to convert scanned images into editable text.
Quote from an Expert
iPhones have revolutionized document scanning, making it faster, easier, and more efficient than ever.
– Tech Expert, Mark Richards
Conclusion: Simplify Your Document Management with iPhone
iOS 26 has made scanning, editing, and sending documents from your iPhone incredibly easy. Whether you’re using the new Preview app or the Notes app, the process is fast and efficient.
If you’re not already using these features, start today. Save time and streamline your workflow with the power of iPhone’s document scanning capabilities.
Start scanning, signing, and sending your documents today using your iPhone. Enjoy faster, more efficient document management without third-party apps.
Frequently Asked Questions
Can I scan documents with the iPhone camera?
Yes, the iPhone camera works with the Notes app to scan documents. Just open Notes, tap the camera, and choose “Scan Documents” to begin scanning.
Do I need a third-party app to scan documents?
No, you can scan documents for free using the iPhone’s built-in Notes app. No third-party apps are necessary for basic scanning.
Can I scan documents without a third-party app?
Yes, iOS allows document scanning directly through the Notes app or Preview app, requiring no third-party software.
Citations:
- Apple Support – Scan Text and Documents in Preview on iPhone
- Tom’s Guide – iOS 26 Brings a New App to Your iPhone