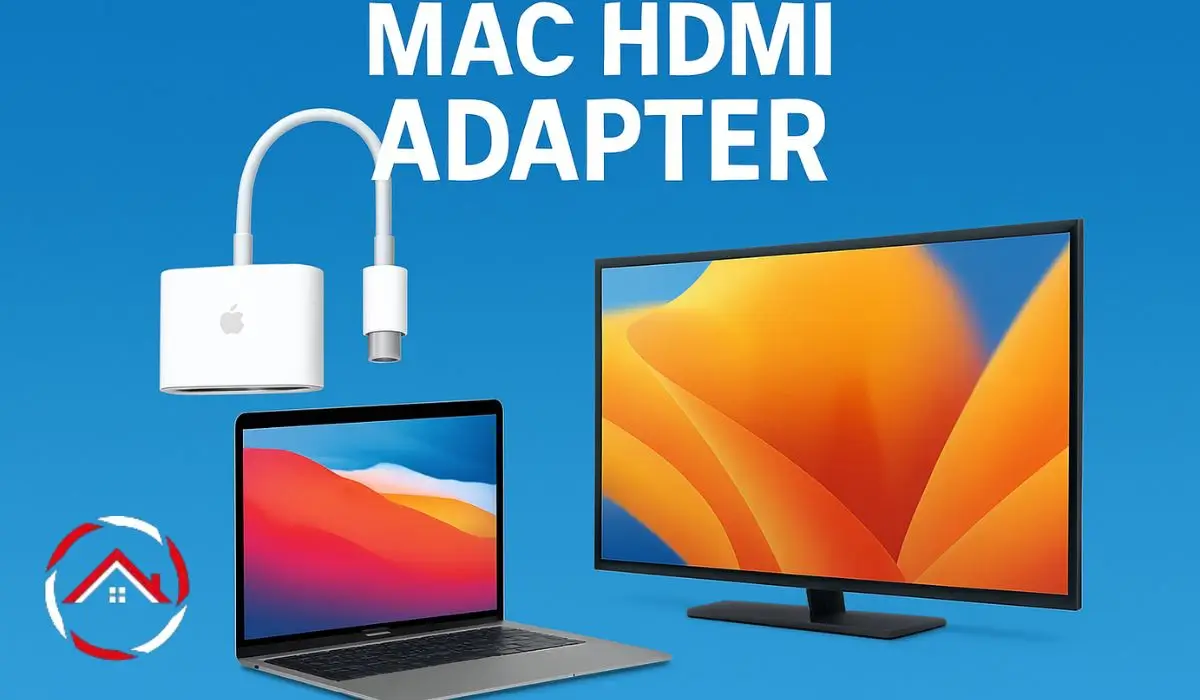
I’ve often found myself needing a simple way to connect my Mac to a larger screen, whether for work or entertainment. Since my Mac doesn’t come with an HDMI port, I had to figure out how to make that connection happen. That’s where a Mac HDMI adapter comes in.
It’s a small but essential gadget that makes it possible to link my Mac to TVs, projectors, and monitors. In this guide, I’ll walk you through everything I’ve learned about HDMI adapters, from choosing the right one to setting it up. Let’s get started!
Read More: Mac Features and Settings: Smart Tweaks for a Faster Mac
Table of Contents
Mac HDMI Adapter Setup Help Story Guide Explained!
A student came with a Mac that would not show on a TV. The Mac HDMI Adapter seemed fine, but the setup was not. I checked the cable and settings. I fixed the display mode. The screen lit up at once. The student felt calm and ready to present again.
Read More: Mac Guide: Smart Tips for Faster, Easier, Better Mac Use
What Is a Mac HDMI Adapter?
I needed an easy way to connect my Mac to bigger screens. That’s where the Mac HDMI adapter comes in. It allows me to link my Mac to external displays like TVs, monitors, or projectors.
- USB-C to HDMI: The most common adapter for newer MacBooks. It connects USB-C ports to HDMI.
- Thunderbolt to HDMI: For older MacBook models, Thunderbolt ports connect to HDMI.
Since my Mac doesn’t have an HDMI port, the adapter bridges that gap. It lets me enjoy videos, presentations, or work on a larger screen without any hassle.
Why Do I Need an HDMI Adapter for My Mac?
You might wonder why I need an HDMI adapter for my Mac. Simply put, it’s essential for connecting my Mac to external displays.
- Use cases: Watching movies on a TV, presenting slides on a projector, or working with an extra monitor.
- Problems without HDMI ports: Many MacBooks lack HDMI ports, making it tricky to connect to TVs or monitors directly.
For me, the HDMI adapter has solved these issues and expanded my Mac’s capabilities.
How to Choose the Right Mac HDMI Adapter
Choosing the right HDMI adapter for my Mac was a bit tricky at first. But after some research, I figured it out.
- Compatibility: Make sure the adapter fits your Mac model (MacBook Air, MacBook Pro).
- USB-C vs Thunderbolt: If you have a newer MacBook, you’ll likely need a USB-C to HDMI adapter.
- Resolution and features: Consider whether you need 4K support or if plug-and-play works for you.
I always check these factors before buying, ensuring the adapter meets my needs.
Where to Buy a Mac HDMI Adapter Near Me
When I needed a Mac HDMI adapter, I found it easy to grab one from nearby stores.
- Retail options: Best Buy, Walmart, and Target all carry adapters.
- Online stores: If I’m in a hurry, online platforms like Amazon and eBay are great.
If you search for “mac hdmi adapter nearby,” “macbook hdmi adapter walmart,” or “mac hdmi adapter target,” you’ll find plenty of options close by.
Connecting My MacBook to a TV or External Display
Connecting my MacBook to a TV or monitor is easy once I have the right adapter. Here’s how I do it.
- Step 1: Plug the HDMI adapter into my MacBook’s USB-C or Thunderbolt port.
- Step 2: Connect the HDMI cable from the adapter to the TV or external monitor.
- Step 3: Turn on the TV or monitor and switch to the HDMI input.
- Step 4: My Mac should automatically detect the external display. If it doesn’t, I go to System Preferences > Displays and click “Detect Displays.”
Sometimes, I face connection issues like no display or poor resolution. To fix that:
- Ensure both the Mac and display are powered on.
- Check the HDMI cable for damage.
- Adjust the display settings in my MacBook’s preferences.
Old MacBook Air HDMI Adapter: What to Know
Using my old MacBook Air with an HDMI adapter can be tricky. Some models don’t work well with newer adapters.
- Compatibility issues: Older MacBook Airs may not support all HDMI adapters, especially newer USB-C versions.
- Upgrade options: I found that using a Thunderbolt to HDMI adapter works best for my older MacBook Air.
If my MacBook Air is older, I always check the compatibility before purchasing.
USB-C to HDMI: A Reliable Solution for Newer MacBooks
USB-C to HDMI is my go-to adapter for newer MacBooks. It’s fast, easy, and supports high resolutions.
- Why USB-C? Newer MacBooks like mine only have USB-C ports. USB-C to HDMI adapters make connecting to external displays a breeze.
- How to use it:
- Plug the USB-C adapter into my MacBook.
- Connect the HDMI cable from the adapter to the display.
- Switch the display input to HDMI.
With this setup, my Mac is ready for any presentation, movie night, or work session.
Citations:
support.apple.com. Connect to HDMI from your Mac


