
Setting up Google Nest WiFi with an existing router seamlessly enhances your home network’s coverage and performance. This guide outlines the straightforward process to achieve this integration.
Integrating Nest WiFi into your current network’ll create a unified and robust system that eliminates dead zones and provides consistent connectivity.
Whether extending your Wi-Fi’s reach or optimizing network traffic, this integration promises a smoother online experience.
In the following steps, we’ll explore the query ‘How to set up Google Nest WiFi with existing router” to make you form a robust and efficient home network.
Table of Contents
Main Google WiFi Setup Issues
Integrating Google Nest WiFi can sometimes present challenges, but overcoming these issues leads to a superior home network. Here’s a quick overview, along with crucial troubleshooting tips:
- Router Compatibility: Ensure your existing router is compatible with Google Nest WiFi to avoid conflicts during setup.
- Placement Predicaments: Incorrect placement can lead to weak signals. Find central locations for each Nest WiFi point to maximize coverage.
- Configuration Confusion: Follow the setup guide carefully, as misconfigurations might hinder the synchronization of your Nest WiFi points.
- Network Naming Niggles: Maintain consistent SSID and password for seamless roaming between Nest WiFi points.
- Device Connectivity: Some devices require manual reconnection to the new network for optimal performance.
- Interference Issues: Protect Nest WiFi from electronic devices and metal structures that can disrupt signals. Also, avoid crowded Wi-Fi channels for better connectivity.
By addressing these common concerns, you’ll be well on your way to enjoying the benefits of a robust Google Nest WiFi network.
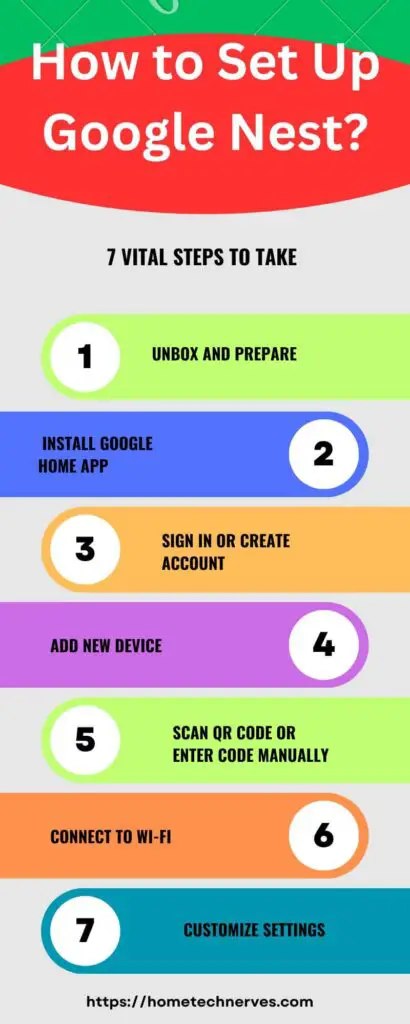
How to Set Up Google Nest?
Are you embarking on the journey to set up your Google Nest WiFi? Follow these initial steps and handy tips to ensure a smooth and efficient installation process:
- Unboxing and Placement: Begin by unboxing your Nest WiFi units and strategically placing them in central locations for optimal coverage throughout your home.
- Download Google Home App: Install the Google Home app on your smartphone or tablet, which will be your central hub for configuring Nest WiFi.
- Follow Guided Setup: Launch the app, tap “Set up device,” and select “New devices.” The app will guide you through the process step by step.
Now, let’s delve into the specific steps:
- Connect Primary Unit: Plug the primary Nest WiFi router to your modem using the provided Ethernet cable.
- Power Up Additional Points: Connect and plug in the additional Nest WiFi points in areas with weak signals for extended coverage.
- Scan QR Code: The app will prompt you to scan the QR code on the bottom of each unit, ensuring proper identification.
- Create Network Name and Password: Customize your network name and password for both 2.4GHz and 5GHz bands.
- Place Additional Points: The app will help you identify optimal locations for the additional points to maximize coverage.
- Complete Setup: The app will finalize the setup once configurations are set. Enjoy your enhanced Nest WiFi network!
Following these steps ensures a robust and seamless network coverage, ideal for all your online needs.
Steps to Set Up Google Nest WiFi With Existing Router
Elevate your home network by integrating Google Nest WiFi with your existing router. Discover how to achieve a harmonious setup with these simple steps:
- Gather Essentials: Collect your Nest WiFi units, existing router details, and the Google Home app on your device.
- Access Google Home App: Open the app and tap “Set up device” to initiate the setup process.
- Choose “Import Google Wifi: Select “Import Google Wifi” during setup to seamlessly merge your existing settings.
- Connect Primary Nest WiFi: Plug the primary unit to your modem using the provided Ethernet cable.
- Power Additional Points: Set up additional Nest WiFi points in areas with weak signals for extended coverage.
- Scan QR Codes: Use the app to scan QR codes on each unit, enabling accurate identification.
- Finalize Setup: Complete the process as the app guides, creating a unified network for enhanced performance.
How to Add Google WiFi Point To Existing Network?
Expanding your network’s coverage is effortless with Google WiFi points. Here’s a quick guide on seamlessly adding them to your existing setup:
- Prepare the Point: Plug in the new Google WiFi point in a strategic location for extended coverage.
- Access Google Home App: Launch the Google Home app on your device.
- Select Device: Tap the “+” symbol and choose “Set up device” to add the new point.
- Follow App Prompts: The app will guide you through smoothly connecting the end to your existing network.
- Optimize Placement: Ensure the new point is positioned for optimal coverage and minimal signal interference.
How to Set Up Google Nest Wifi Extender?
Enhance your network’s coverage effortlessly using the Google Nest WiFi Extender. Here’s a brief guide to help you set it up seamlessly:
- Unbox and Power Up Unbox the Nest WiFi Extender and plug it into an outlet in the area with weak coverage.
- Open Google Home App: Launch the Google Home app on your device.
- Add a Device: Tap the “+” icon, choose “Set up device,” and pick “Have something already set up?”
- Follow Guided Setup: The app will walk you through connecting the Nest WiFi Extender to your existing network.
- Optimize Placement: Place the extender in a spot where it receives a strong signal from your main Nest WiFi point while extending coverage to desired areas.
Wrap Up
Integrating Google Nest WiFi with your existing router offers an effective solution to amplify your home network’s performance.
By following the straightforward steps outlined in this guide, you can seamlessly combine the capabilities of your current router with the advanced features of Nest WiFi. This integration promises to eliminate dead zones, optimize connectivity, and provide a unified network experience.
With careful placement, proper configuration, and the assistance of the Google Home app, you’ll create a robust and efficient network that caters to all your online needs.
Elevate your home connectivity by embracing the Power of Google Nest WiFi and enjoy seamless browsing, streaming, and communication throughout your space.
Frequently Asked Questions
How do I set up Google Nest WiFi with an existing router?
To set up Google Nest WiFi with an existing router, connect your Nest WiFi router to the existing router using an Ethernet cable. Then, use the Google Home app to configure the Nest WiFi network, following the on-screen instructions.
Can I use Google Nest WiFi with my current router?
Yes, you can use Google Nest WiFi with your current router. Connect the Nest WiFi router to the existing router via Ethernet, and use the Google Home app to set up the Nest WiFi system, creating a mesh network.
Do I need to disable my existing router’s Wi-Fi to use Google Nest WiFi?
It’s recommended to disable your existing router’s Wi-Fi to avoid network interference. However, it’s not mandatory. You can set up Google Nest WiFi as a separate network, but having both Wi-Fi networks active might cause signal conflicts.
What mode should I use for Google Nest WiFi with an existing router?
When using Google Nest WiFi with an existing router, enable Bridge Mode on your existing router if possible. This helps prevent double NAT issues and ensures smoother operation of the Google Nest WiFi network.
References:
Google Nest Help. Use Nest Wifi and Google Wifi devices on the same network. https://support.google.com/googlenest/answer/9548099?hl=en
